The functions listed below are available after an appropriate reconfiguration of the dLibra system. The set of formats can be changed; the best time to do that is during the implementation of the software.
File Formats Available for Multi-Format Objects
- DjVu – a format consisting of a set of files in the DjVu format
- PDF – a format consisting of a single file in the PDF format
- image gallery – a format consisting of a set of graphics files in the JPG format (the JPG extension; for more information about it, see here)
- audio – a format consisting of a single audio file
- video – a format consisting of a single audiovisual file
- EPUB – a format consisting of a single file in the EPUB format
- MOBI – a format consisting of a single file in the MOBI format
Adding a Multi-Format Object
In order to create a new multi-format object, the user should:
- From the element list, select the directory or group object in which the new object is to be placed.
- From the context menu, select the “New object” function. You can also use the
 button on the toolbar or select an appropriate option from the main menu (“New object...” from the Management menu). After the “New object” function has been selected, the new object creator will be initiated.
 The first step of the new object creator is to select the main file of the object (see the image below). The user should select the “multi-format” option as the data source and indicate the directory on the local drive of the computer (by clicking the “Select a directory” button) which contains the subdirectories with objects in various formats (for the list of the object formats available by default, see the File Formats Available for Multi-Format Objects point. The directories for those formats should be named as follows:
- for the DjVu format – a directory labeled “DjVu”,
- for the PDF format – a directory labeled “PDF”,
- for the image gallery format – a the directory labeled “Gallery”,
- for the audio format – a directory labeled “Audio”,
- for the video format – a directory labeled “Video”,
- for the EPUB format – a directory labeled “EPUB”, and
- for the MOBI format – a directory labeled “MOBI”.
Next, the default format of the object should be indicated (in the “Default format” column). That format will be displayed when the website user does not indicate directly the format he or she wants to use (for example, after the object content icon has been clicked).
By default, the Editor Application detects the main file for every format automatically, but the main file for each format can be modified manually in the “Main file” column. The application identifies the main files for the formats in accordance with the following general rules:
- DjVu: The main file is a file named index*.djvu, a file named index*.htm, or a file named index*.html, gdzie * owhere * means any sequence of alphanumeric characters, the minus symbol „-“, or the underscore symbol „_“.
- PDF: The main file is the file in the directory. The file should have the “.pdf” extension.
- If the gallery has many images, the main file is the file generated automatically by the Editor Application (presentation.xml). If there is only one file in the directory, the main file is a graphics file.
- Audio: The main file is the file in the directory. The file should have the “.mp3” extension. It should be prepared in such a way that it will support so-called progressive download.
- Wideo: The main file is the file in the directory. The file should have the “.mp4” extension. It should be prepared in such a way that it will support so-called progressive download.
- EPUB: The main file is the file in the directory. The file should have the “.epub” extension.
- MOBI: The main file is the file in the directory. The file should have the “.mobi” extension.

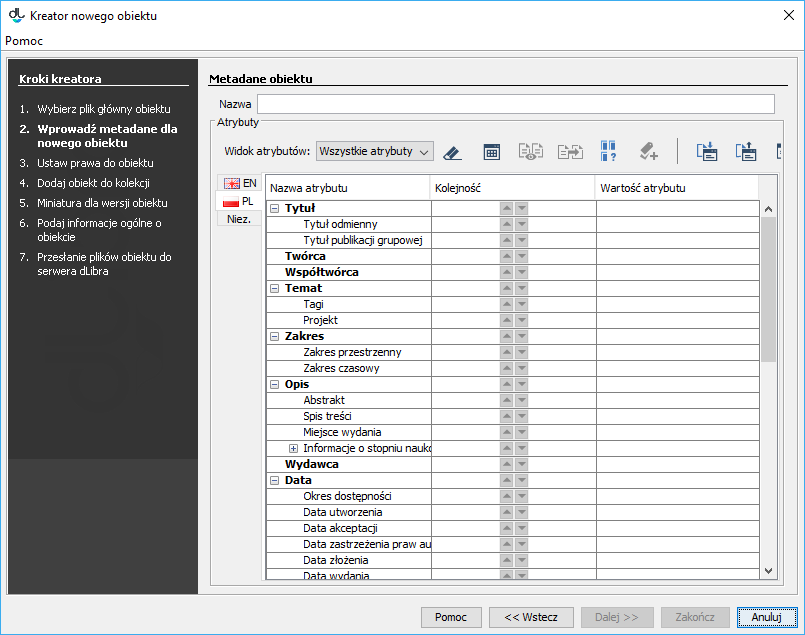
- In the second step (see the image below), the user should describe the new object with the use of a set of attribute values. For details about it, see the Bibliographic Description Editor chapter. In order to be able to go to the next step, the user must enter the name of the new object (in the “Name” field). By default, the name is created on the basis of the bibliographic description, by combining the name of the author and the date of edition (for information about changing the method of creating a default name, see the Configuring the Editor Application section. For example, if the title is “Fables”, the author is “John Smith”, and the date of edition is “2004”, then the name will be “John Smith, 2004, Fables” – with the author first, followed by the date of edition and the title. Whenever a user changes the bibliographic description, the name is updated. Off course, a user can also enter a different name or modify the default name. In such a case, the automatic update will be blocked. In order to proceed to the next step of the creator, the user should click the “Next” button.
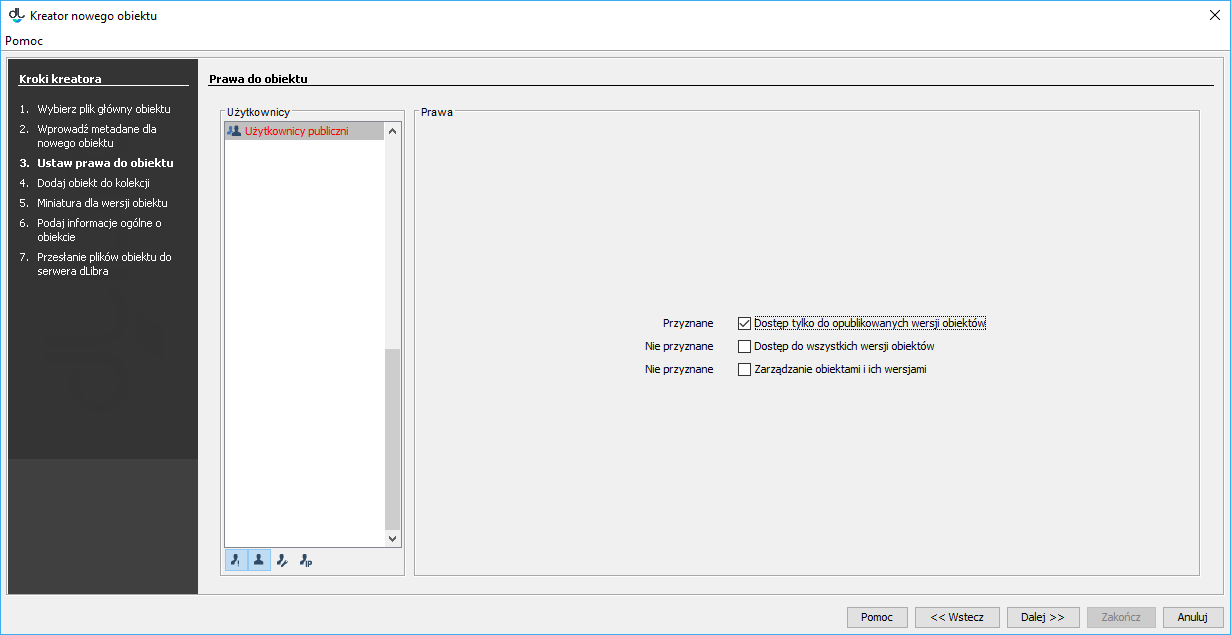
- The third step (see the image below) is to assign access permissions for the object to users. Permission assignment is described in the part about the permission editor. In order to proceed to the next step of the creator, the user should click the “Next” button.
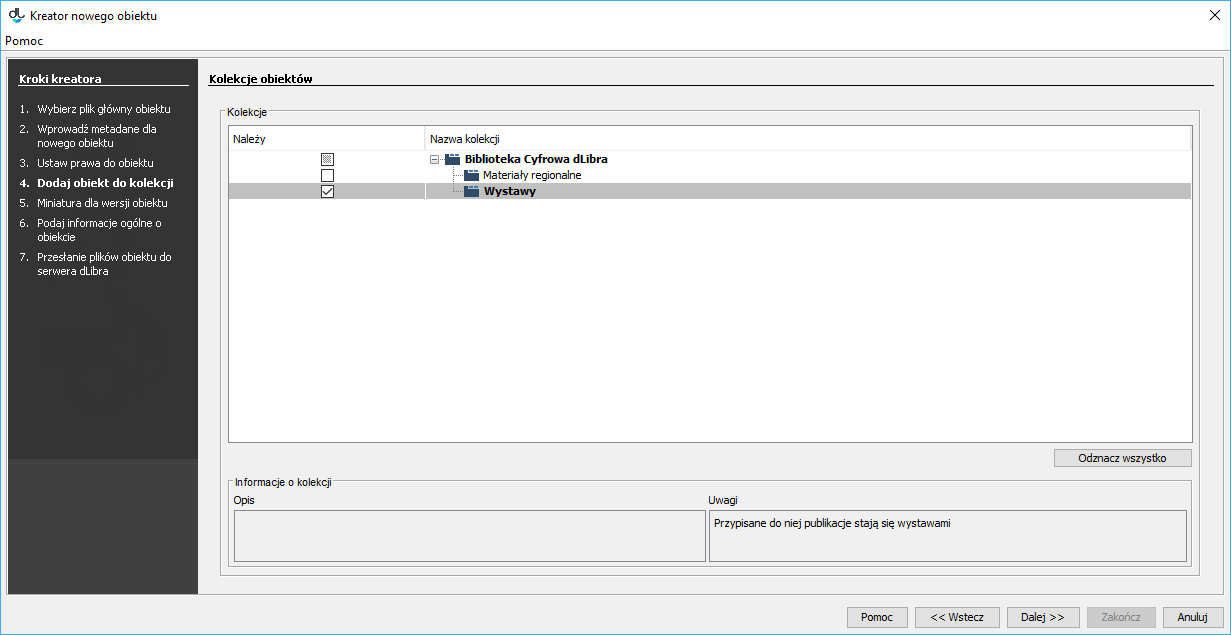
- In the fourth step (see the image below), the user should assign the object to a collection. The way to do that is described in detail in the section about the Editor for Assigning Objects to Collections. In order to proceed to the next step of the creator, the user should click the “Next” button.
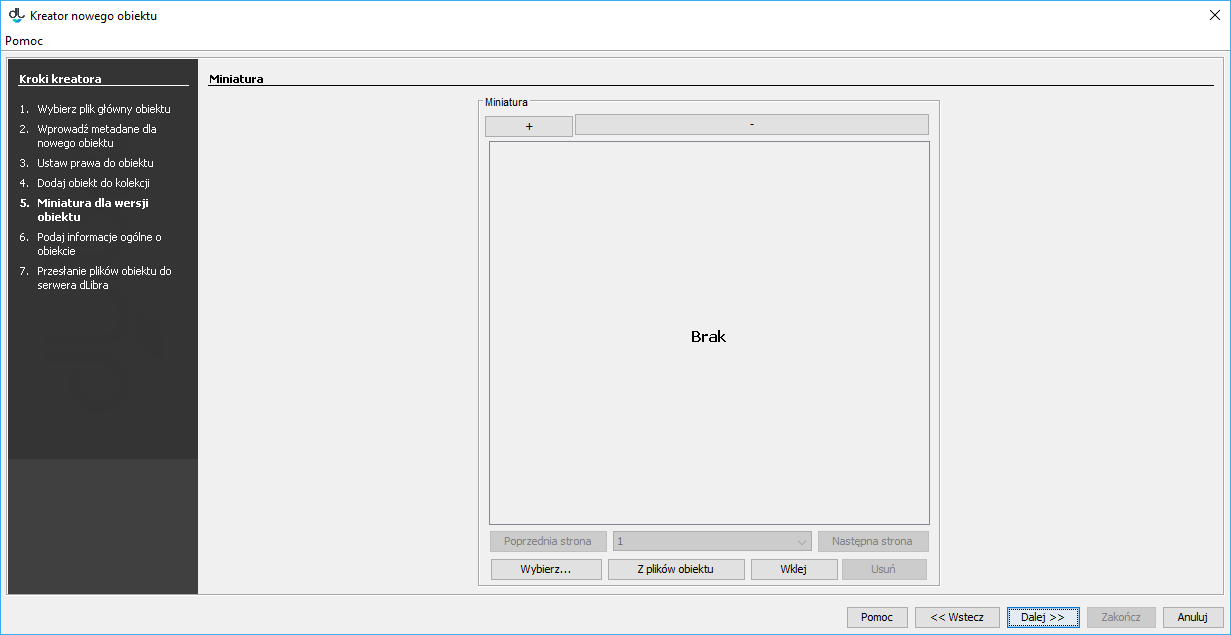
- In the fifth step (see the image below), the user can indicate the thumbnail for the object. A thumbnail is a graphical representation of an edition; it is shown to web page users next to the information about the edition. In order to upload a thumbnail from a graphics file on the drive, the user should click the “Select” button and indicate the file. If there is an extension of the miniatureProvider type installed in the application and if it supports the file types selected in the first step of the creator, the application will be able to automatically generate thumbnail suggestions. For that purpose, the user should click the “From object files” button. If the application has generated many thumbnails, the user can select the correct one by indicating its number on the expandable list (thumbnail numbers usually correspond to the numbers of the pages of the object) or review the subsequent thumbnails by clicking the “Previous page” and “Next page” options. The user can also paste an image from the clipboard (with the use of the “Paste” button). If the application is configured properly, it will automatically reduce the thumbnail size to the required size (for the configuration details, see here). The user can also make the thumbnails bigger or smaller by clicking the buttons labeled + and -. In order to proceed to the next step of the creator, the user should click the “Next” button.
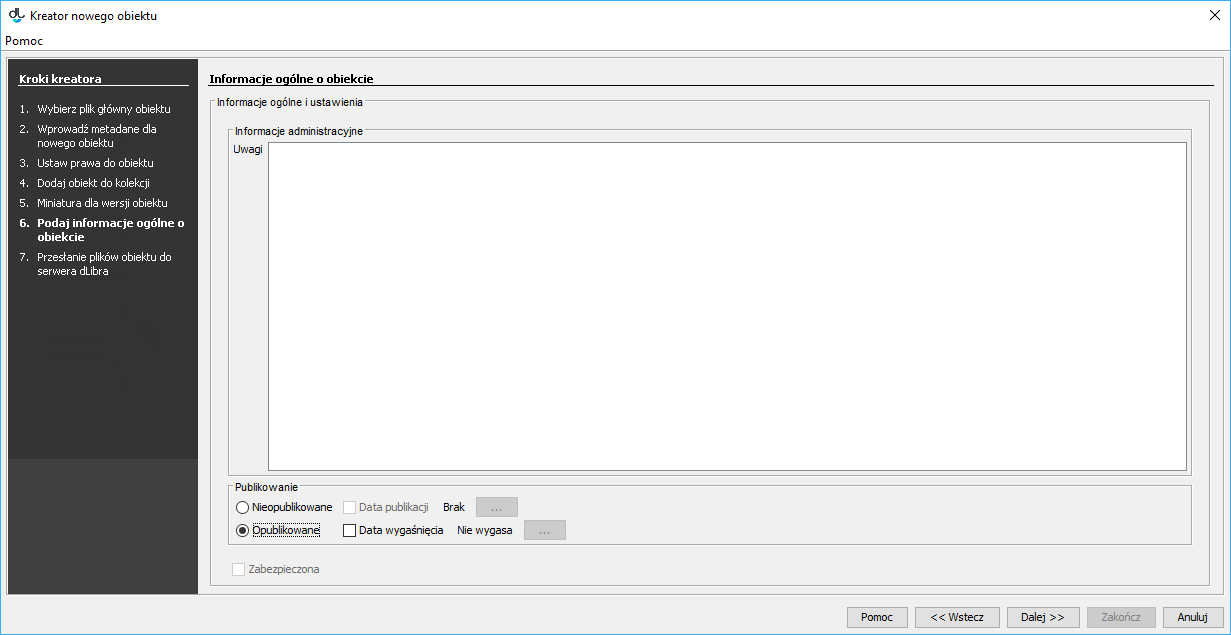
- In the sixth step (see the image below), the user can provide some general information about the object, in the following sections:
- “Notes” – administrative information about the object;
- “Publishing” – a panel for determining if the first edition is to be published, determining the date of automatic publication in the future (if applicable), and determining the date of expiry (withdrawal of the edition; if applicable); and
- “Protected” – a checkbox for determining if the object is to be protected against copying (that option only applies to objects which contain files supported by the Reader Application extensions for protecting files).
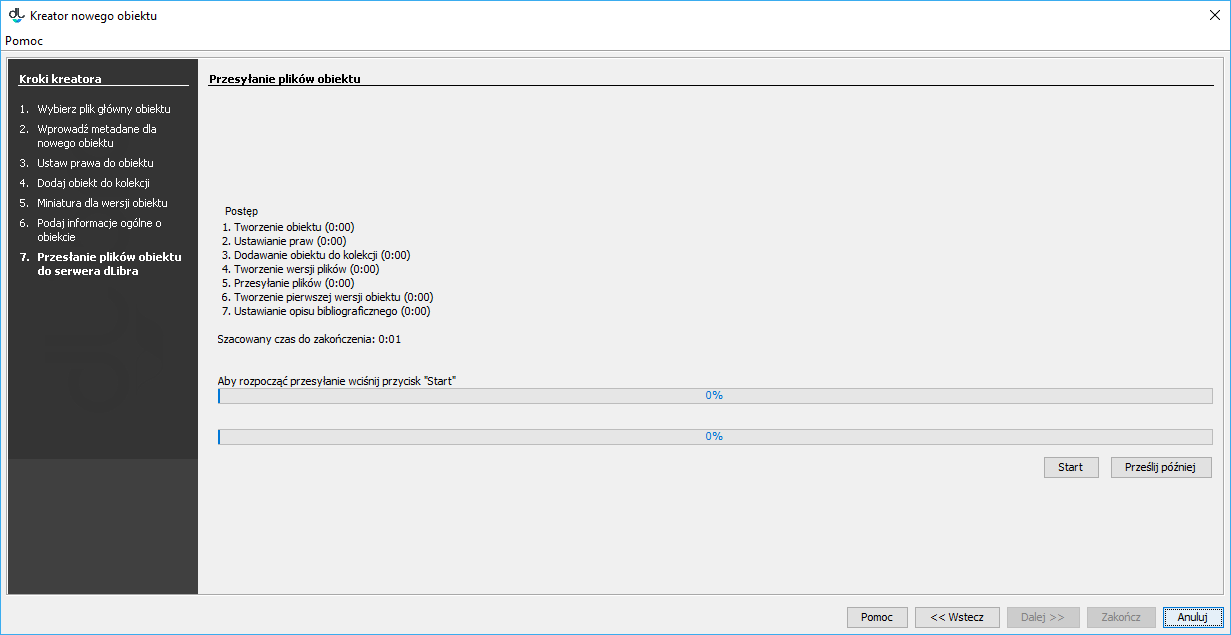
- In the last step of the creator, the object files are sent to the server (see the image below). In order to create an object on the server, the user should click the “Start” button.That process can be paused and resumed by clicking the same button again. While the object is being created, all operations which have to be performed for the object to be created correctly are displayed on the “Progress” panel. The name of the operation being performed at the moment is in bold. For every operation, the program displays the time (in seconds) which has elapsed since the beginning of that operation. Progress bars show the user how advanced the performed operations are. Once the object has been created, a short summary is displayed. While the object is being created on the server, the operation can be canceled (by closing the window, for example, by clicking the “Cancel” button). Also, the editor can postpone the process of object creation by clicking the “Send later” button. When that button is clicked, all information related to the object is saved on the computer drive, and the creator window is immediately closed. All objects which are to be sent later are put on a special list which can be managed in the window for sending such objects. That mechanism is described in detail here. It makes it possible to prepare a set of objects for sending and then to start up the sending of all of them together (for example, to start up the sending at the end of one’s work). One advantage of it is the ability to potentially send more objects – the editor will not have to wait through the sending process because the files can be sent after working hours.
Changing the Default Format
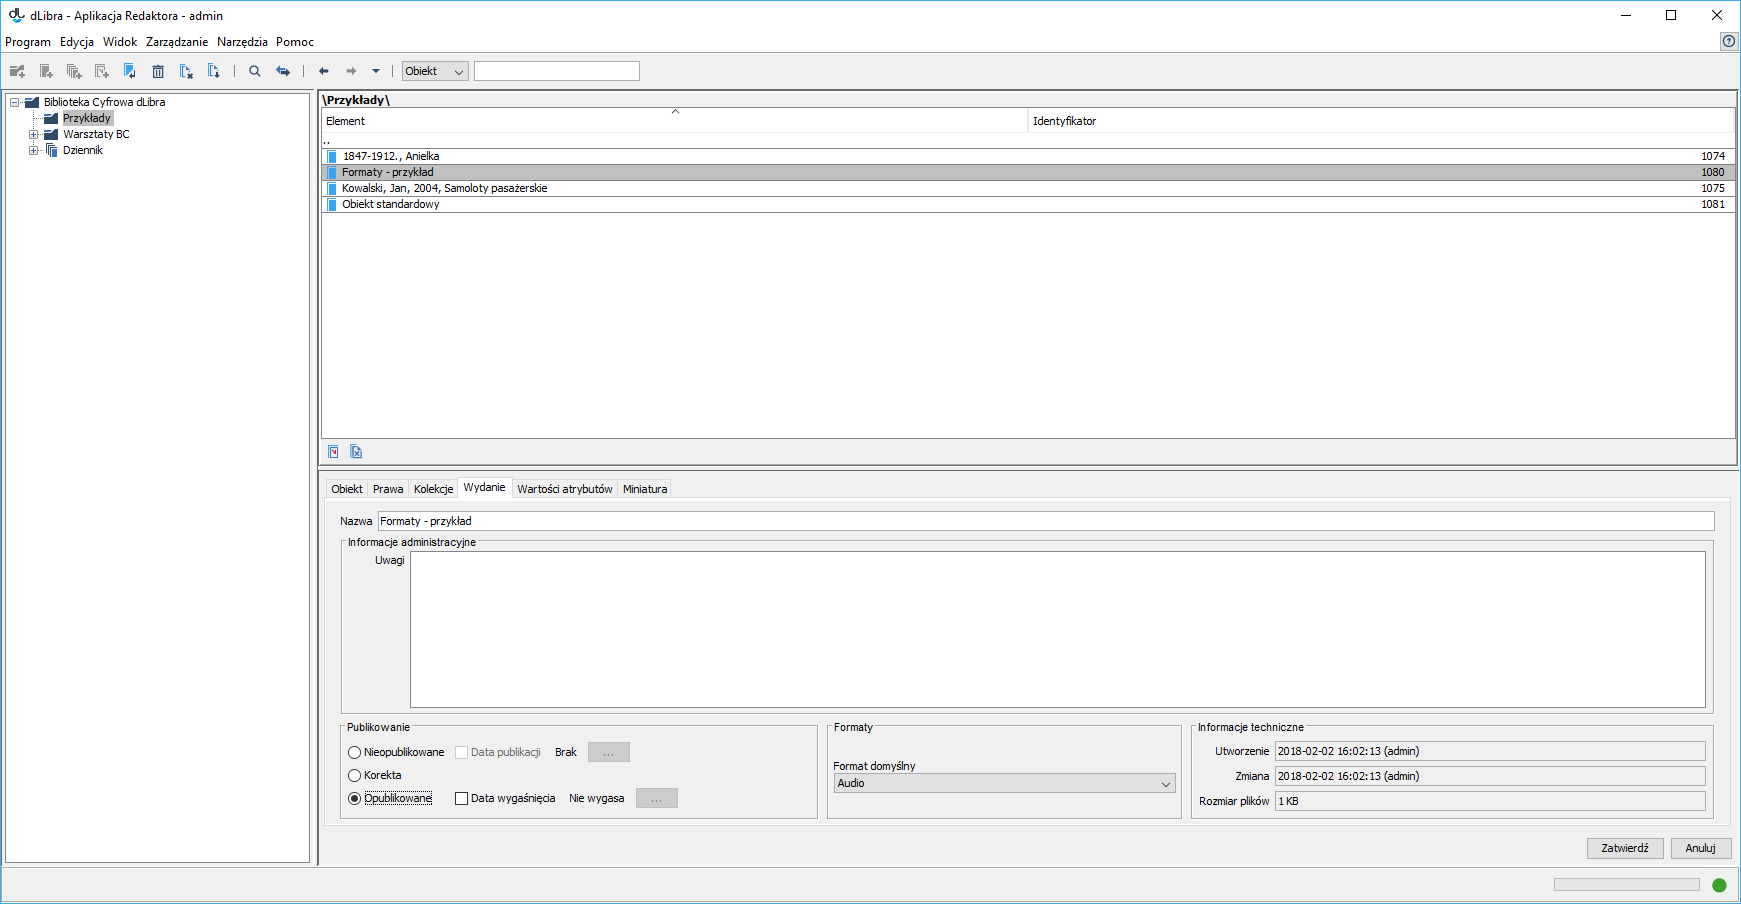
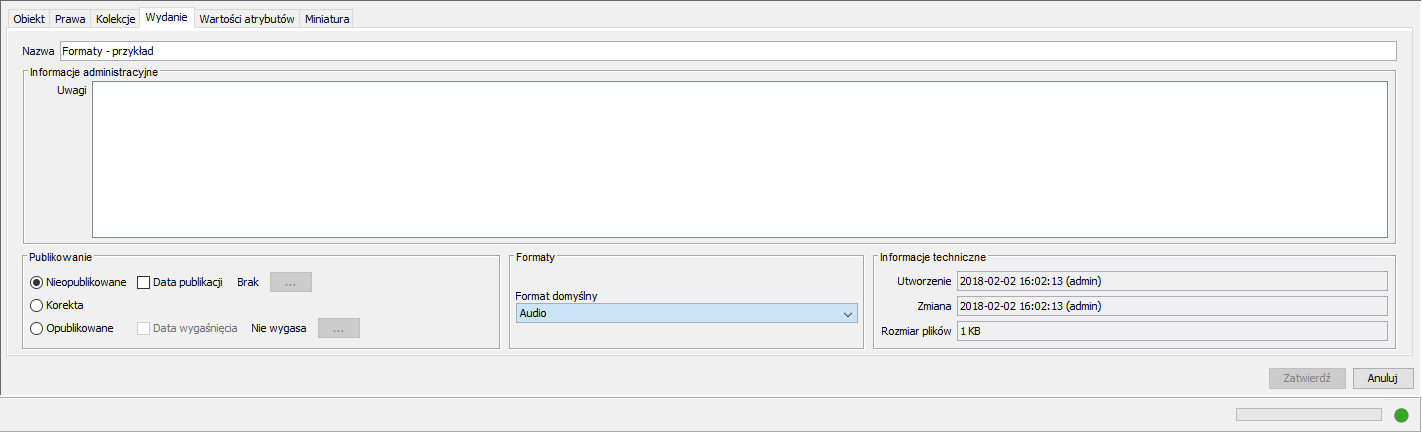
In order to change the default format of a multi-format object, the user should indicate the object for which the change is to be made, go to the “Edition” tab (see the image below) in the property window, indicate the new default format in the “Formats” field on the expandable list, and confirm the change by clicking the “Confirm” button.
Removing a Format
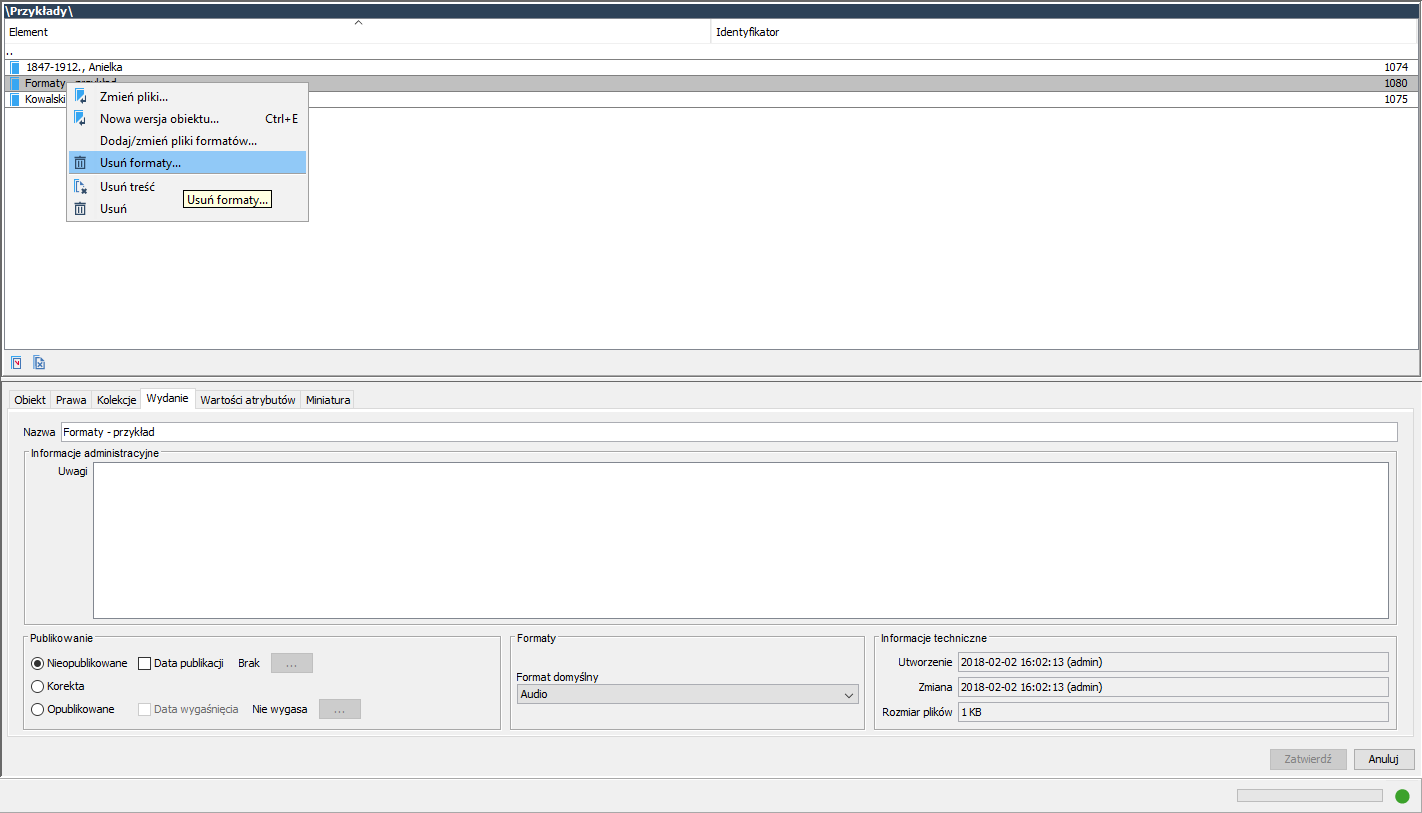
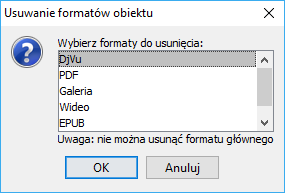
Before changing the format of an object, the user should unpublish the object. In order to remove a format of a multi-format object, the user should point to the object for which the change is to be made, go to the “Edition” tab in the propery window (see the image below), and unpublish that object by clicking the “Unpublished” option in the “Publishing” section. The next step will be to right-click the object and choose the “Remove formats...” option. In the new window (see the image below), the user should indicate the format (other than the default format) which is to be removed and click the “Remove” button.
Changing a Standard Object into a Multi-Format Object
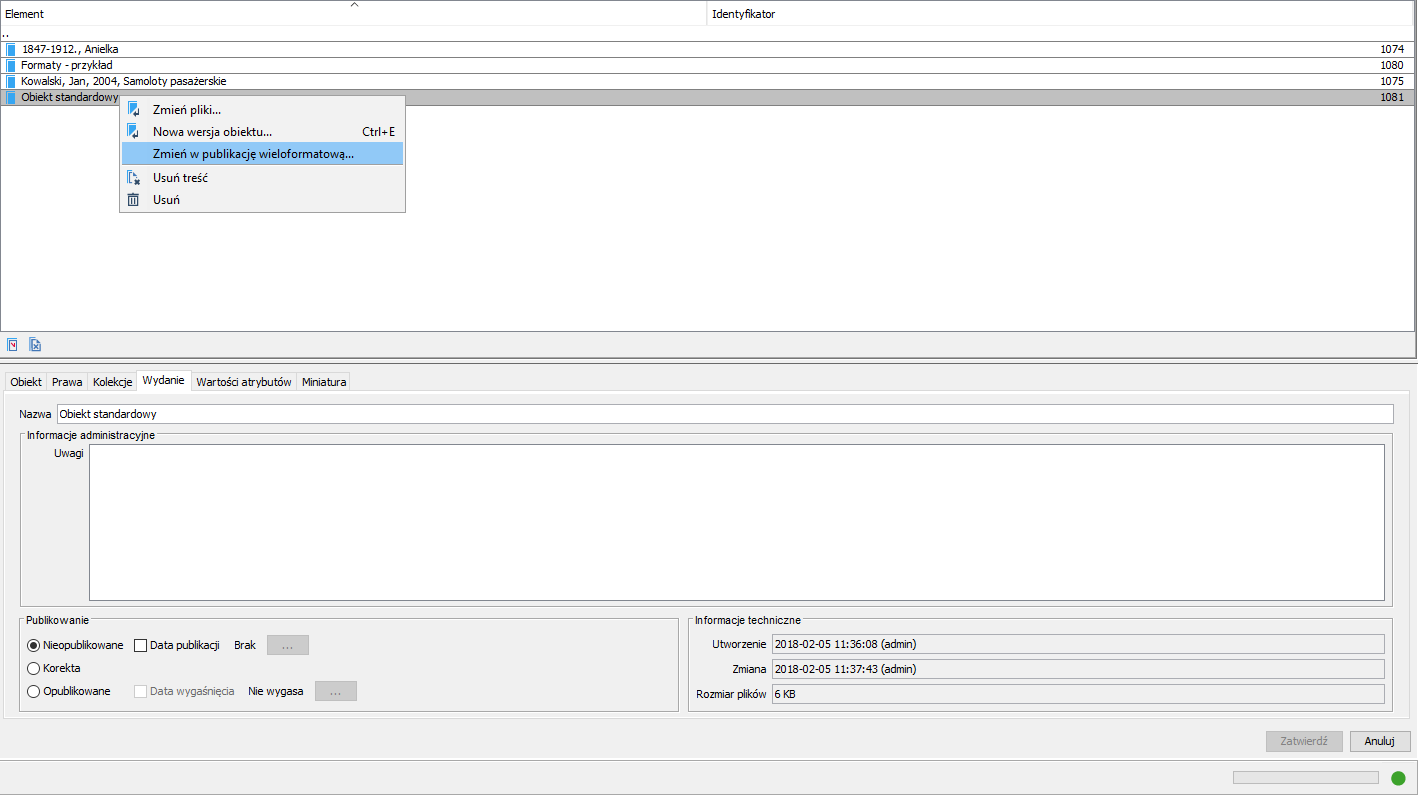
In order to change a standard object into a multi-format object, the user should select the object on the element list, go to the “Edition” tab in the property window, and unpublish the object, by clicking the “Unpublished” option in the “Publishing” section. The next step will be to right-click the object and select the “Change into a multi-format publication” option (see the image below).
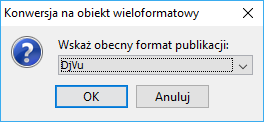
Next, the new format for the current content of the object should be indicated (see the image below).
Modifying the Format Files of Multi-Format Object
- Updating Format Files
In order to change the format of the files of a multi-format object, the user should double-click the selected object or press the “Enter” key when the object is highlighted in the Editor Application (as shown in the image below).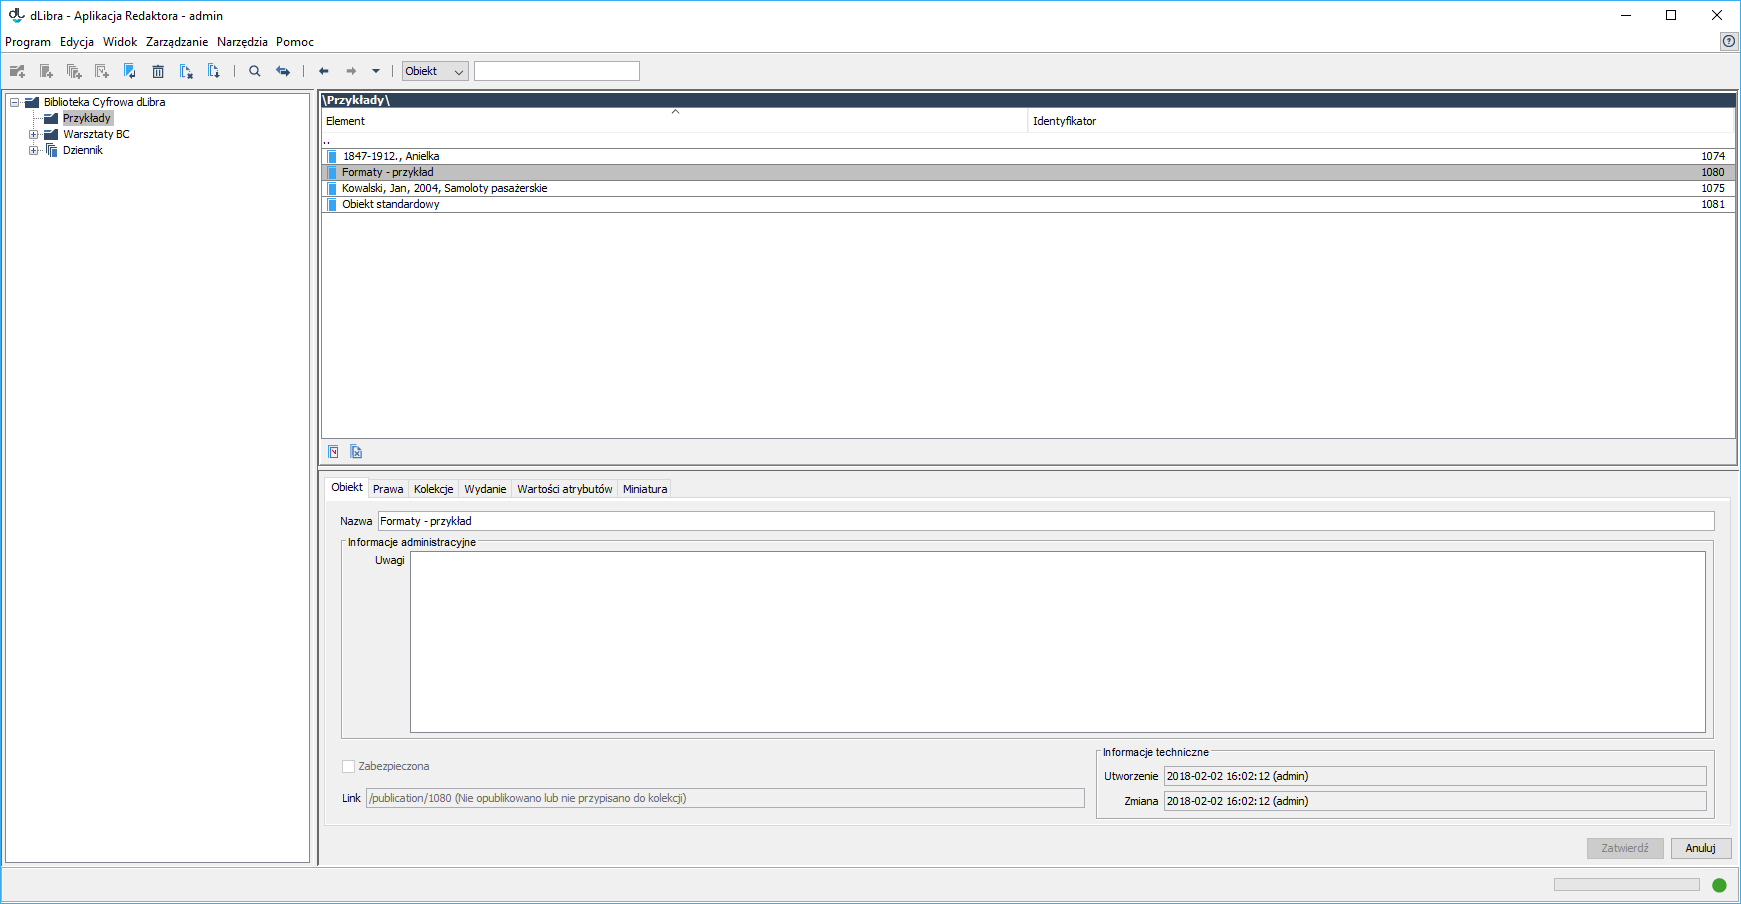
As a result, the list of the formats assigned to the modified objects will be displayed.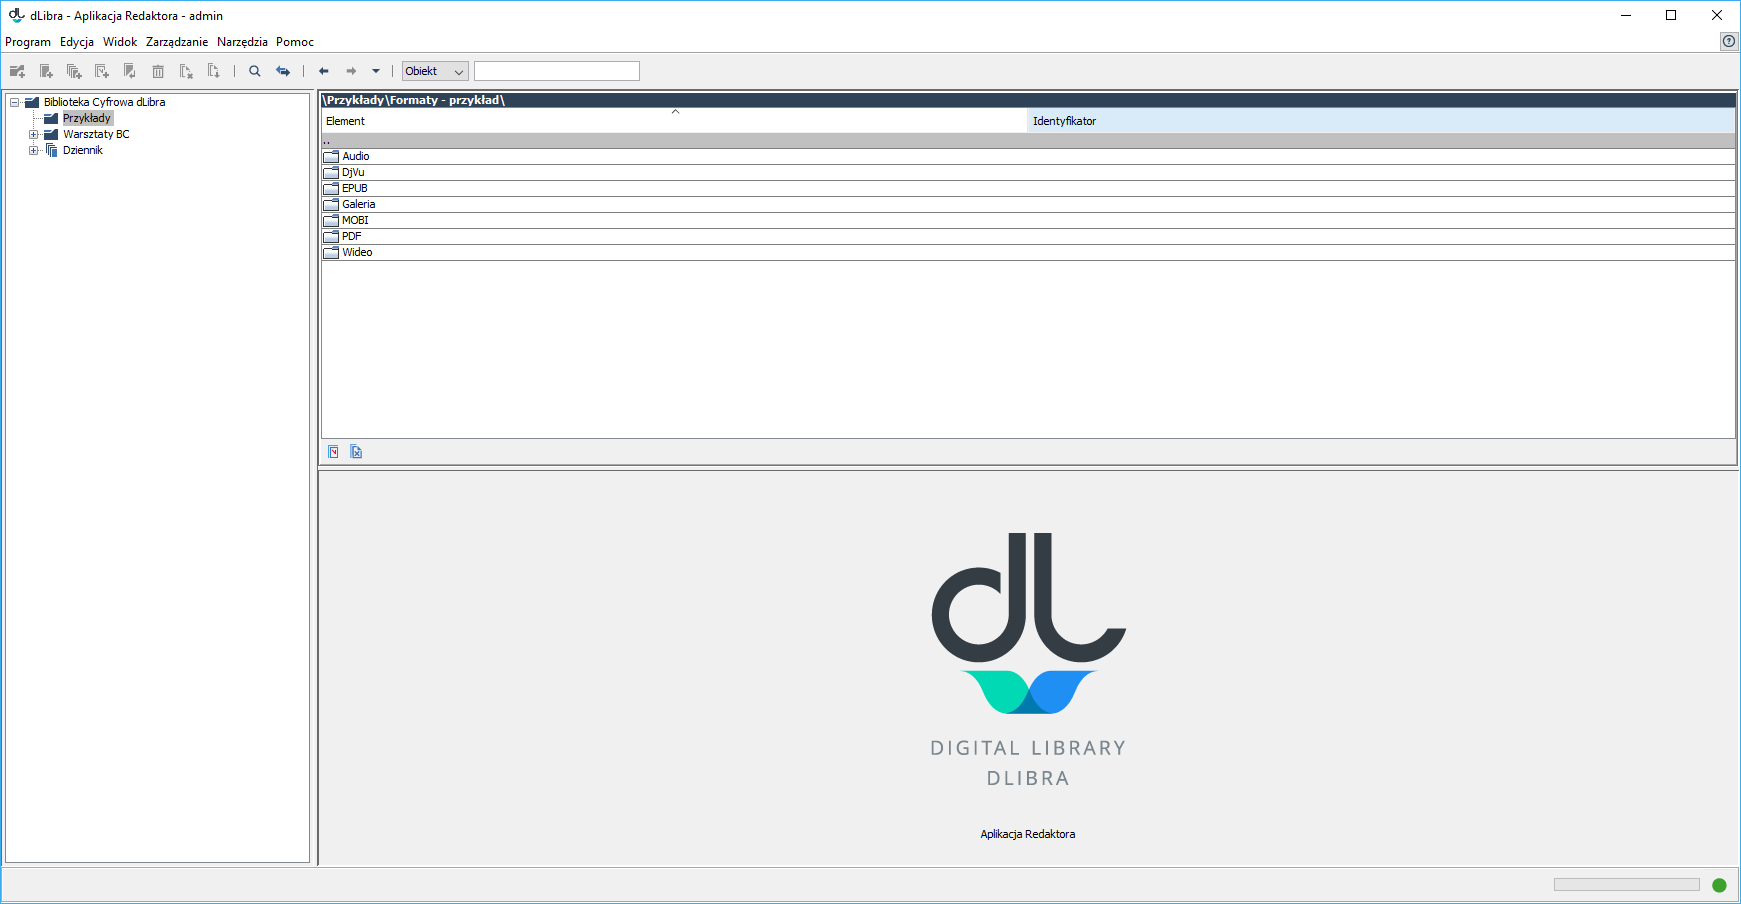
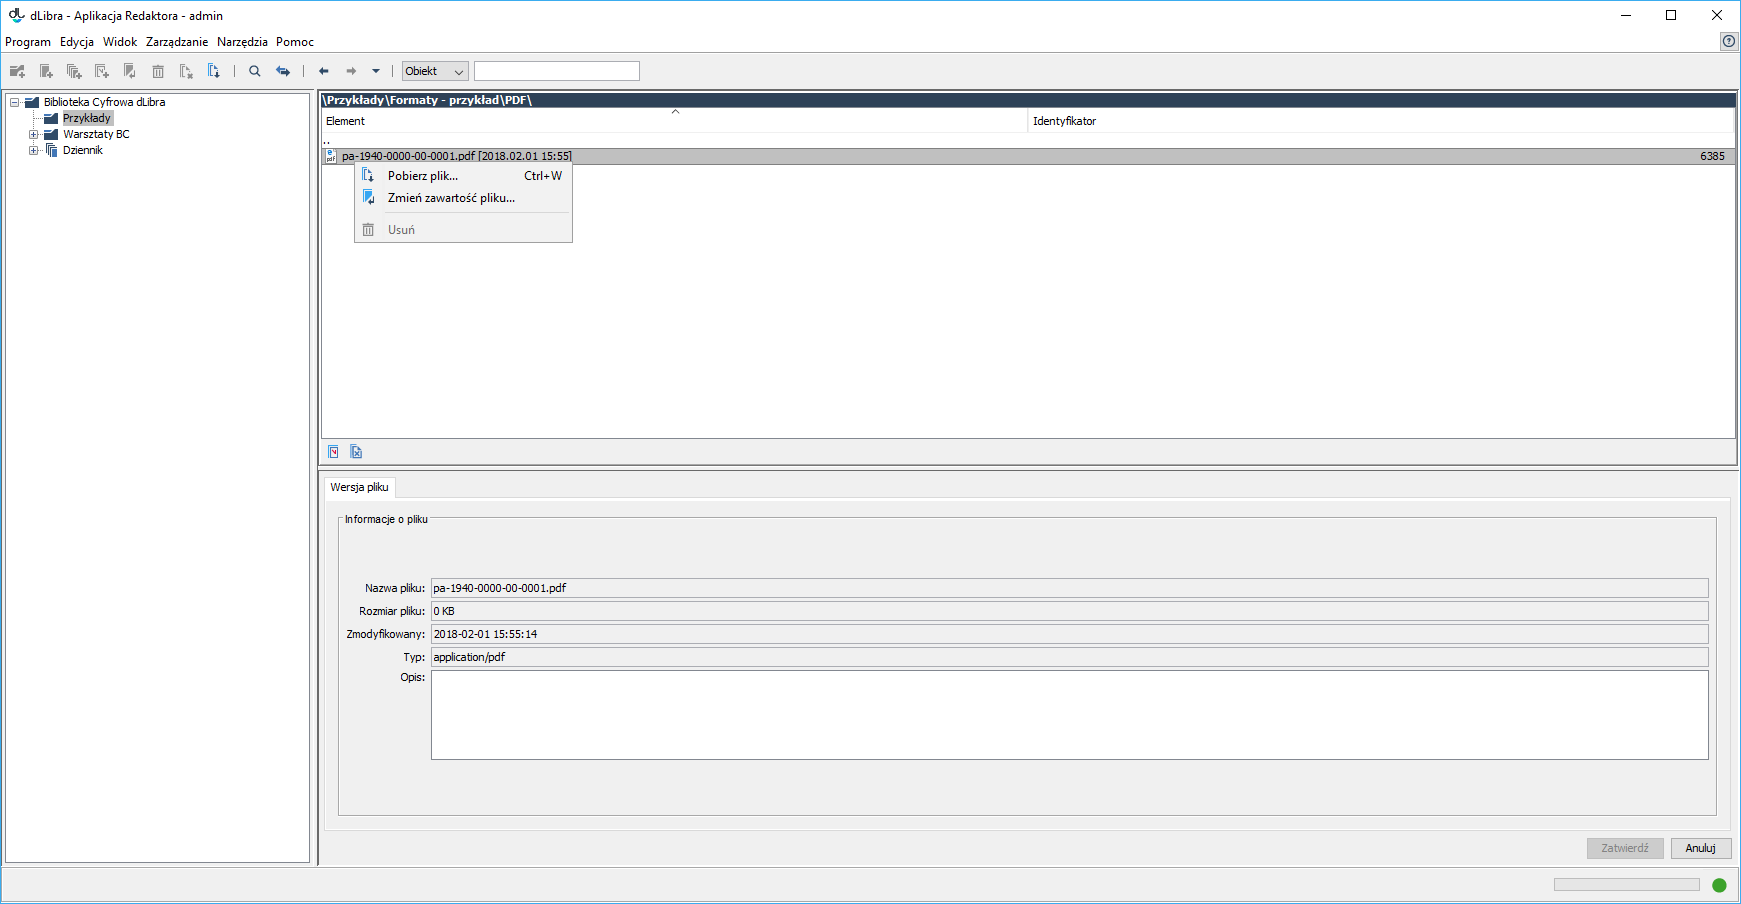
Next, the user should select the format which is to be modified and double-click the “Enter” button or press the “Enter” key. The list of the files in the given format will be shown. Clicking a file name will cause its context menu to appear. The context menu will have the “Change file content” option (as shown in the image below). The new file name should have the same name as the changed file.
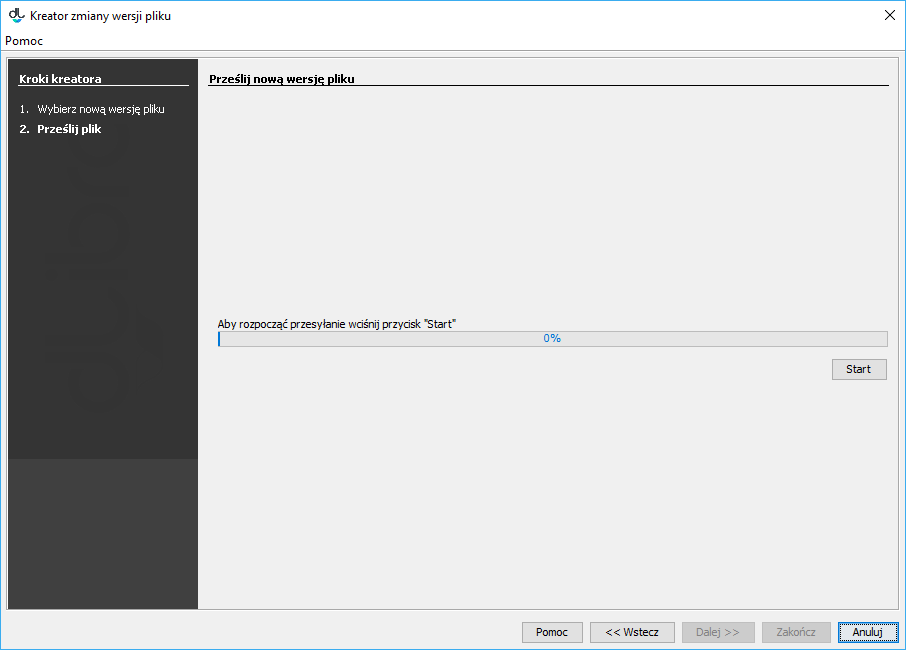
After the new file has been indicated (with the use of the “Select a file” button, as shown in the image below), it can be sent to the dLibra server by clicking the “Start” button (as shown in the next image below).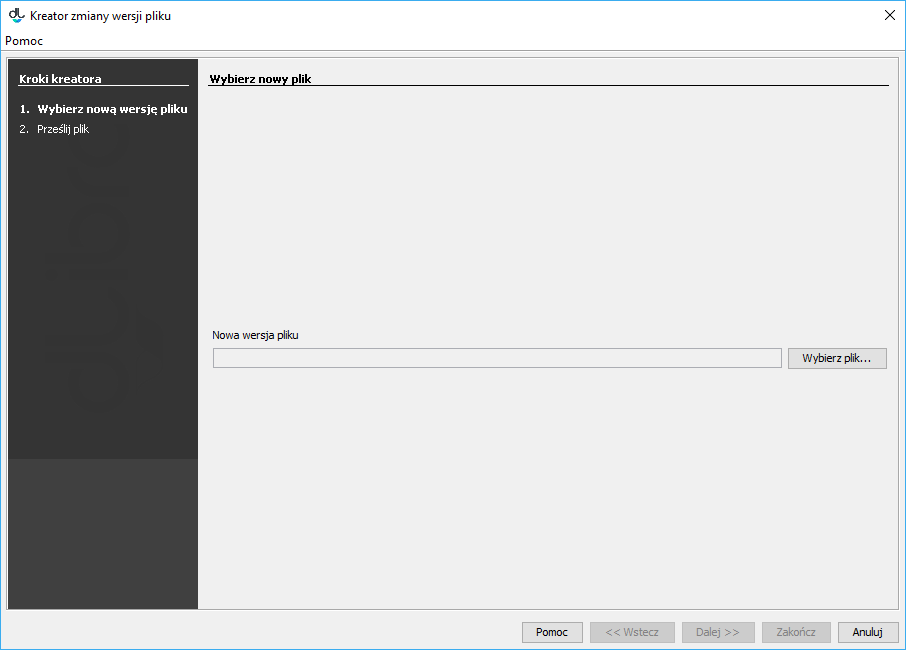
- Adding/Changing Format Files
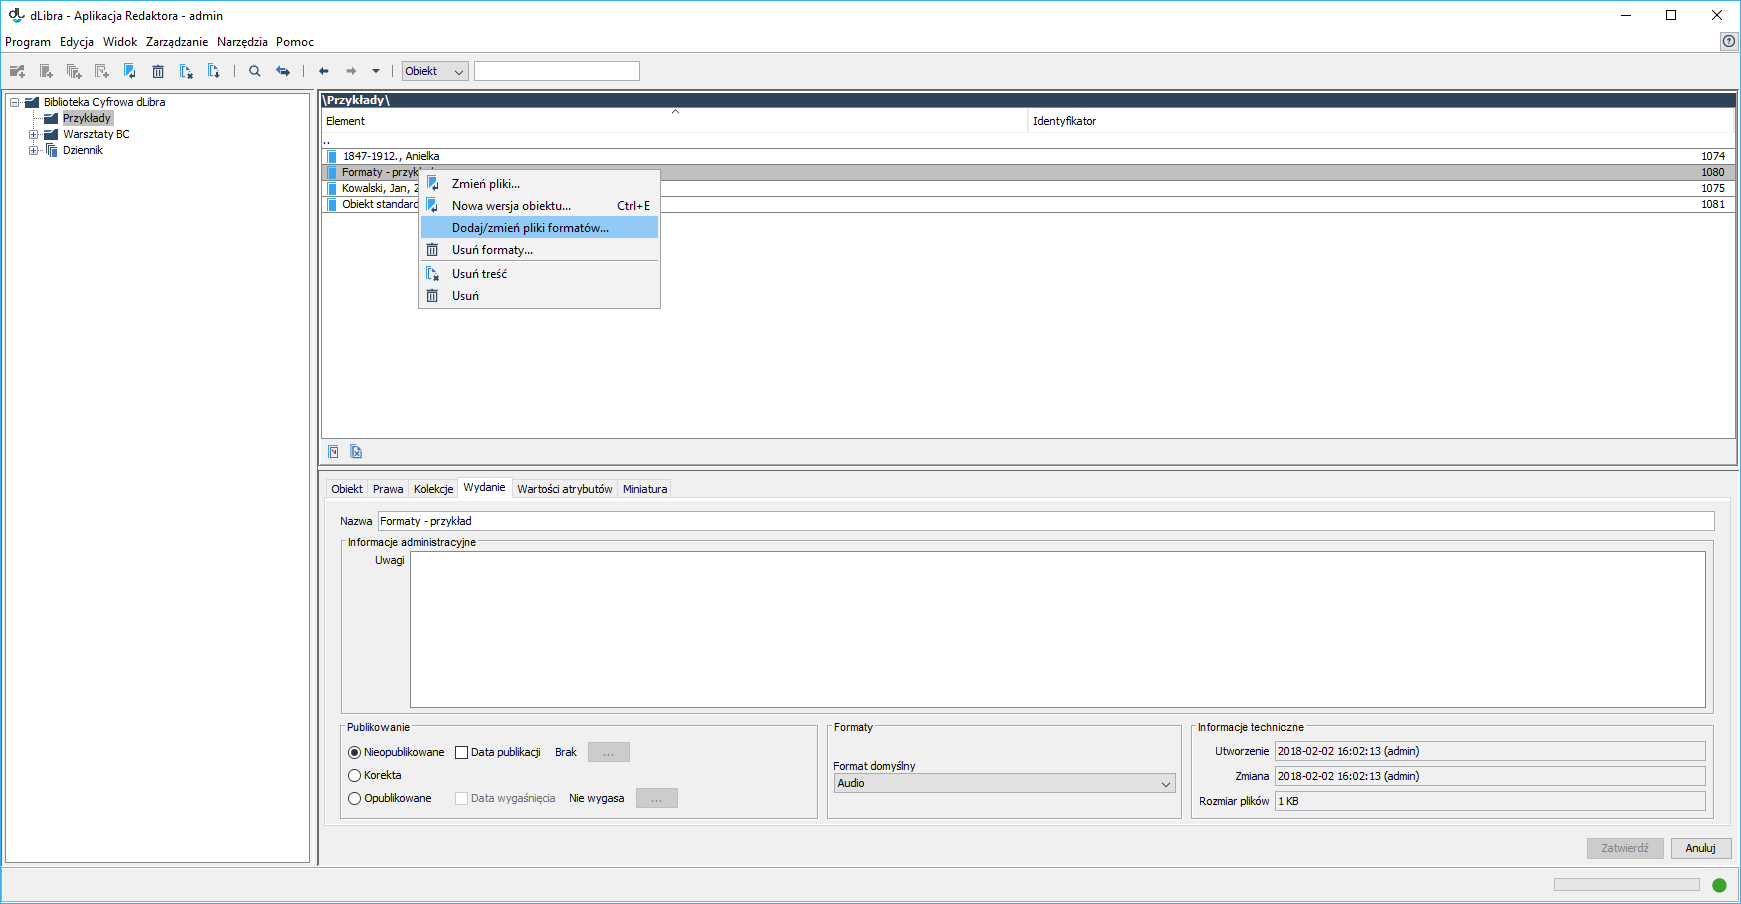
Before changing the format of an object, the user should unpublish the object. In order to add files in a format to a multi-format object, the user should point to the object for which the change is to be made, go to the “Edition” tab in the propery window (see the image below), and unpublish that object by clicking the “Unpublished” option in the “Publishing” section. The next step will be to right-click the object and select the “Add/change format files...” option.
In the new window (see the image below), the user should indicate the directory which contains subdirectories with the format files to be added or changed.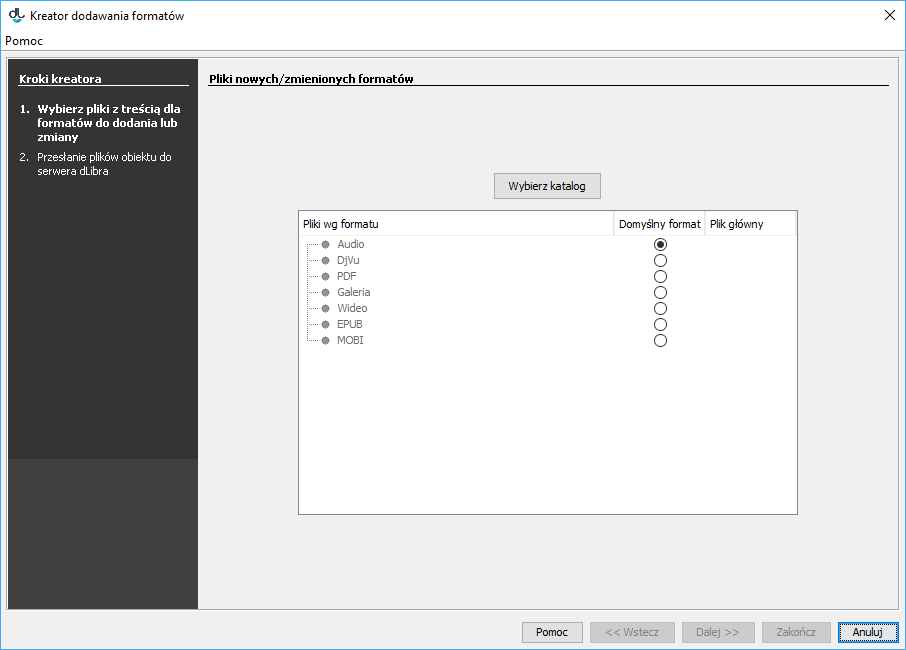
Having selected the directory, the user should indicate the default format for the files of the multi-format object and choose the main file for each format, if the main file is to be different than the automatically identified one.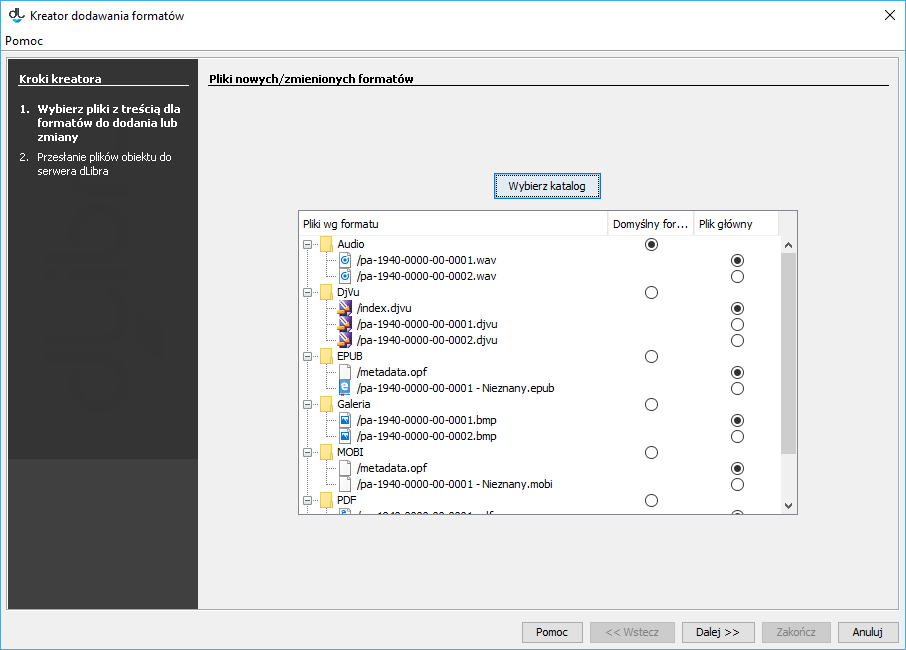
Next, the files of the multi-format object should be sent to the dLibra server by clicking the “Start” button.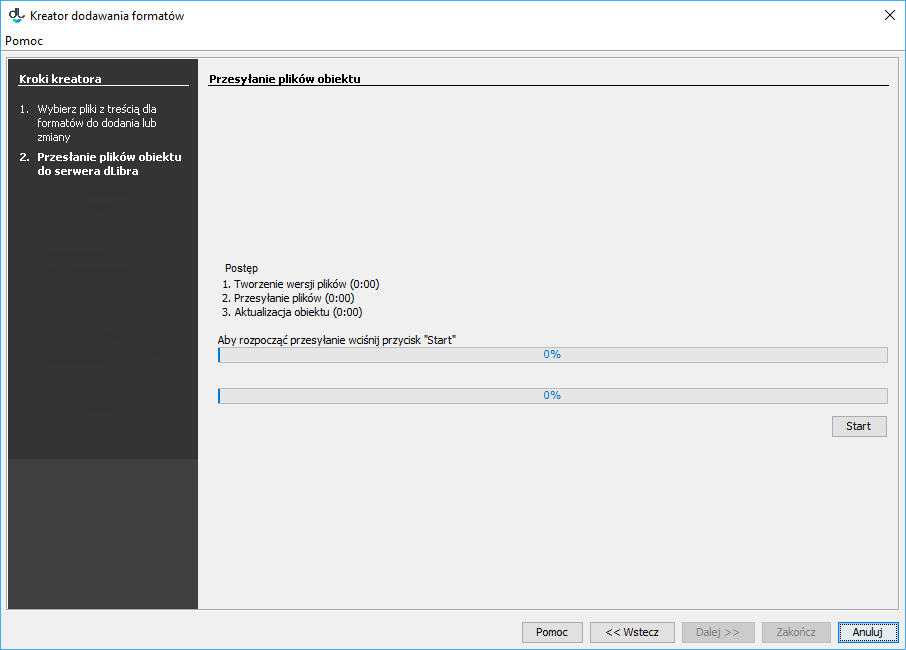
Finally, the object has to be republished by selecting the “Published” option in the “Edition” tab, in the “Publishing” section.