IP users in the dLibra system are sets of computer addresses which are determined by administrators. Therefore, such a user is authenticated by checking the IP address of the computer from which the connection is being made. If the computer address is in the set of addresses assigned to an existing IP user, the dLibra system assumes that the connection has been made by that IP user. The authentication process is automatic (no data have to be entered manually). If we want a particular set of computers (for example, a reading room) to be identified as one user, an IP user should be used for that purpose. We can assign publication permissions to such a user (that is, a specific set of computers). For example, we can assign the permissions to certain publications only to computers in the institution, so they will not be visible on the website for users connecting to the library from outside of the institution – but they will be visible to users connecting with the library from that institution.
In order to create a new IP user:
- In the library tree, the IP users’ node or an IP user node should be selected.
- Right-click the node and select the “New IP user...” option. You can also select the “New user...” option from from the “Management” menu.
In the first step of the creator (see the image below), enter the general data of the new user; the identifier and name are obligatory. In order to go to the next step, click the “Next” button. At this stage, you can also close the creator, by clicking the “Finish” button.
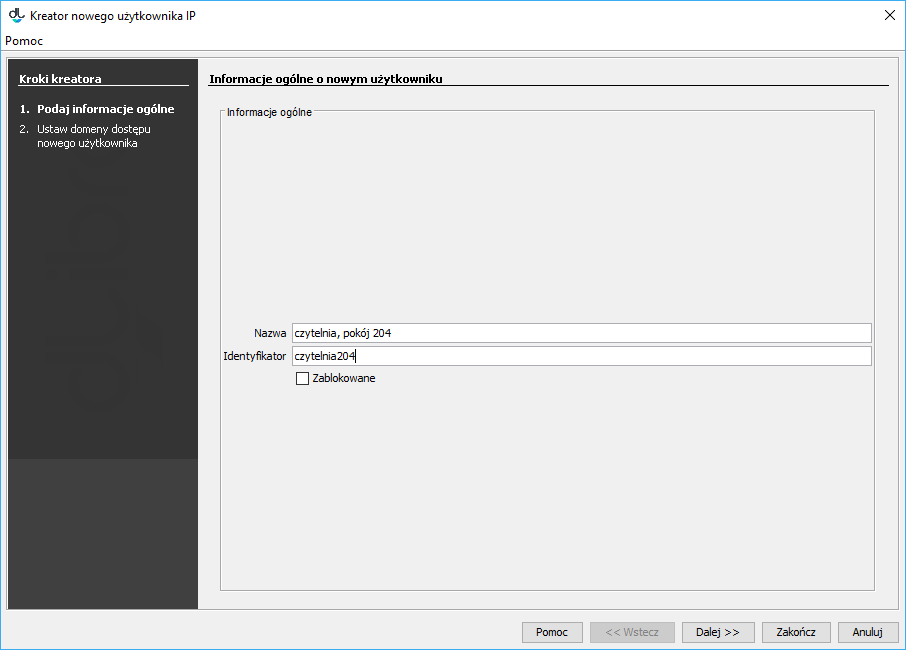 Kreator nowego użytkownika IP - dane ogólne
In the last step (see the image below), enter the domains or computer addresses related to the IP user. For a detailed description of domain management, see here.
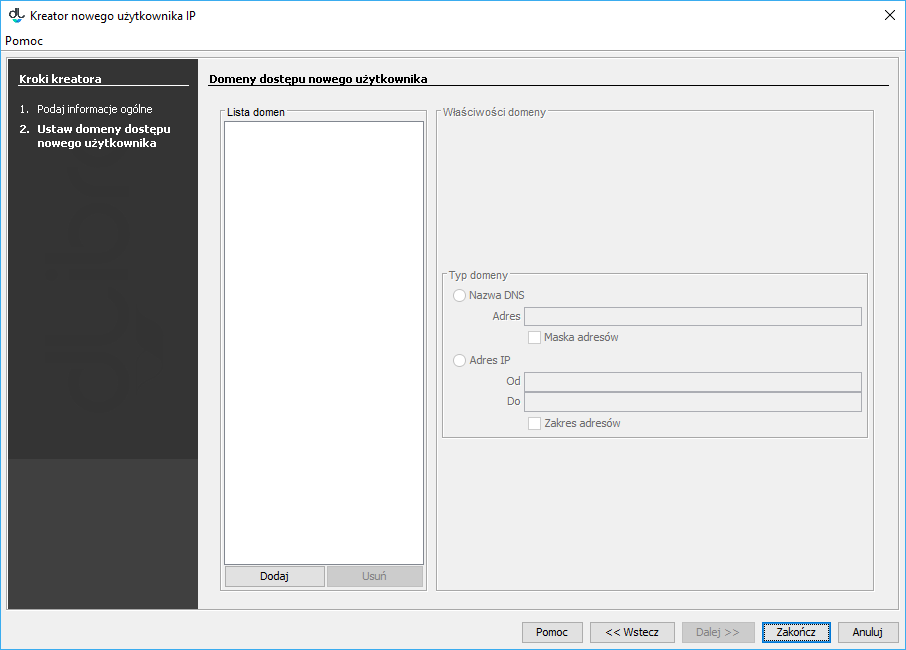 Kreator nowego użytkownika - definiowanie domen dostępu
In order to remove an IP user:
- In the library tree, select the IP user to be removed.
- Select the “Remove”
 option from the context menu or from the main menu (the “Edition” menu).