In order to create a new user group:
- In the library tree, a group’s node or a group node should be selected.
- Right-click the node and select the “New group” option
 from the context menu. You can also select the “New group...” option from from the “Management” menu.
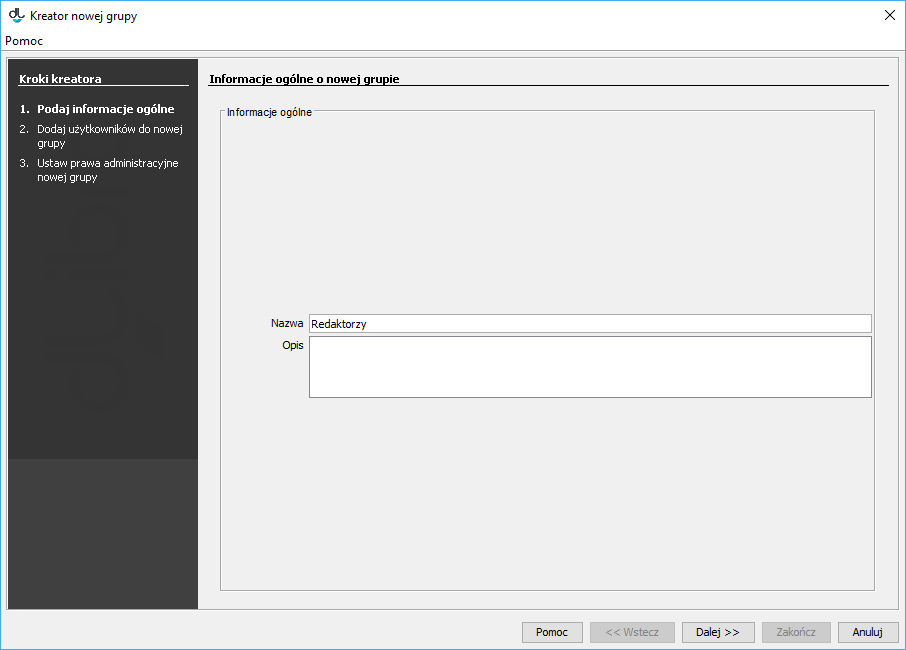
 - In the first step of the new group creator (see the image below), enter the general data of the new group (the name and description). In order to finish the creation of the new group at this stage, click the “Finish” button. In order to go to the next step of the creator, click the “Next” button
Aby utworzyć nową grupę użytkowników:
- W drzewku biblioteki należy wybrać węzeł grup lub węzeł grupy.
- Należy wybrać przycisk z paska narzędzi lub wybrać opcję
Nowa grupa z menu kontekstowego. Można również wybrać pozycję Nowa grupa... z menu Zarządzanie.
- W kreatorze (krok pierwszy — rysunek poniżej) nowej grupy należy wprowadzić dane ogólne nowej grupy (nazwa i opis). Aby zakończyć tworzenie nowej grupy na tym etapie, należy wybrać przycisk Zakończ. Aby przejść do następnego kroku kreatora należy przycisnąć przycisk Dalej .
Anchor newGroupWizardStepGeneral newGroupWizardStepGeneral labelimg Kreator nowej grupy - informacje ogólne Kreator nowej grupy - informacje ogólne
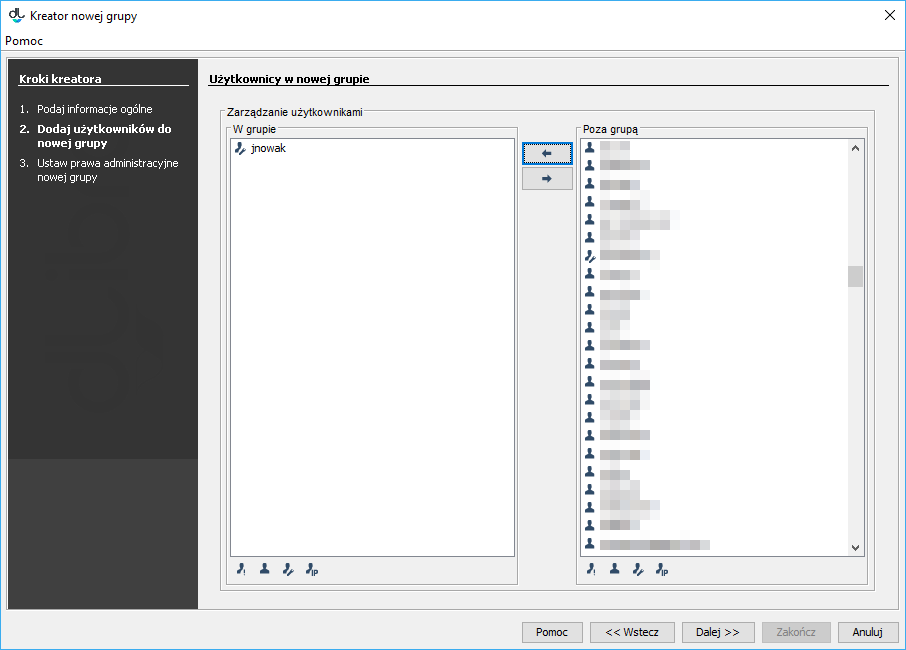
4. In the second step (see the image below), you can assign users to the new group. The users put on the list labeled “In the group” will be added to the new group. In order to go to the next step, click the “Next button”. In order to close the creator at that stage, click the “Finish” button.
| Anchor | ||||
|---|---|---|---|---|
|
...
...
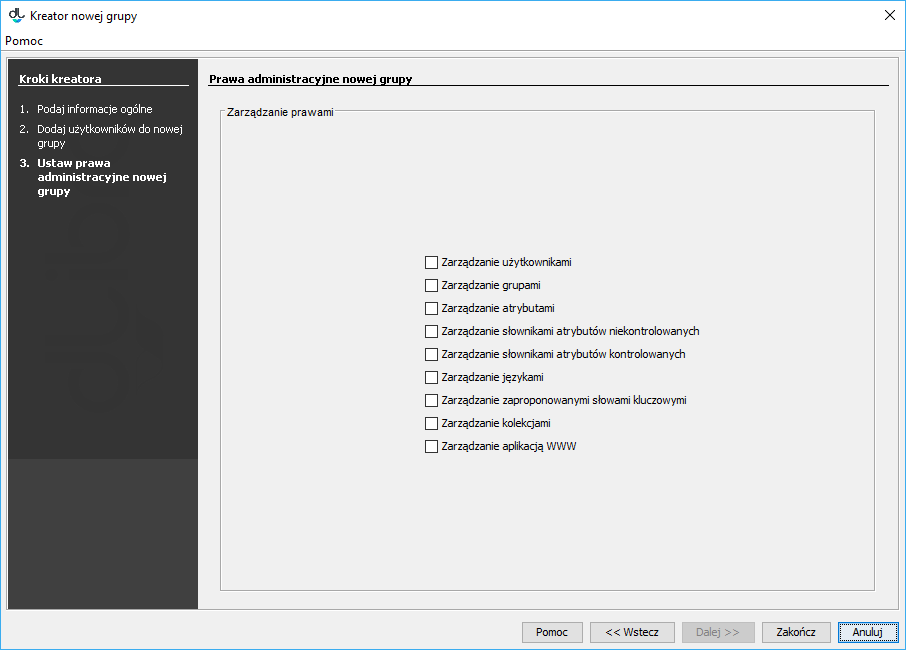
5. In the third (and last) step of the creator (see the image below), you can assign administrative permissions to the group. For detailed information about the meaning of administrative permissions, see here. In order to save the group, click the “Finish” button.
| Anchor | ||||
|---|---|---|---|---|
|
| labelimg | ||||
|---|---|---|---|---|
|
...
Aby usunąć grupę:
|
In order to remove a group:
- In the library tree, select the group to be removed.
- Click the “Remove”
 button or use the context menu or the expandable menu
 - W drzewku biblioteki należy wybrać grupę, która ma zostać usunięta.
- Następnie należy wybrać przycisk