...
IP
...
users in the dLibra system are sets of computer addresses which are determined by administrators. Therefore, such a user is authenticated by checking the IP address of the computer from which the connection is being made. If the computer address is in the set of addresses assigned to an existing IP user, the dLibra system assumes that the connection has been made by that IP user. The authentication process is automatic (no data have to be entered manually). If we want a particular set of computers (for example, a reading room) to be identified as one user, an IP user should be used for that purpose. We can assign publication permissions to such a user (that is, a specific set of computers). For example, we can assign the permissions to certain publications only to computers in the institution, so they will not be visible on the website for users connecting to the library from outside of the institution – but they will be visible to users connecting with the library from that institution.
In order to create a new IP user:
- In the library tree, the IP users’ node or an IP user node should be selected.
- Right-click the node and select the “New IP user...” option. You can also select the “New user...” option from from the “Management” menu.
In the first step of the creator (see the image below), enter the general data of the new user; the identifier and name are obligatory. In order to go to the next step, click the “Next” button. At this stage, you can also close the creator, by clicking the “Finish” button
Aby utworzyć nowego użytkownika IP biblioteki:
- W drzewku biblioteki należy wybrać węzeł użytkowników IP lub węzeł dowolnego użytkownika IP.
- Kliknąć prawym przyciskiem myszy i wybrać opcję Nowy użytkownik IP.... Można również wybrać opcję Nowy użytkownik... z menu Zarządzanie.
W pierwszym kroku kreatora (rysunek poniżej) należy wprowadzić dane ogólne nowego użytkownika. Konieczne jest wprowadzenie identyfikatora oraz nazwy. Aby przejść do następnego kroku należy wybrać przycisk Dalej. Możliwe jest również zakończenie kreatora na tym etapie przyciskając przycisk Zakończ.
Anchor newIPUserGeneral newIPUserGeneral labelimg Kreator nowego użytkownika IP - dane ogólne Kreator nowego użytkownika IP - dane ogólne 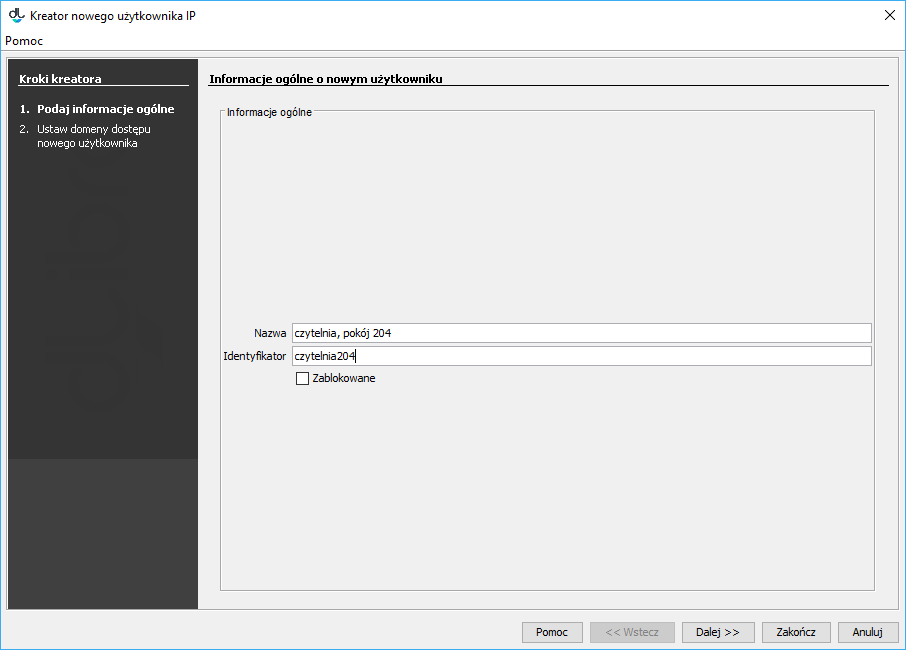
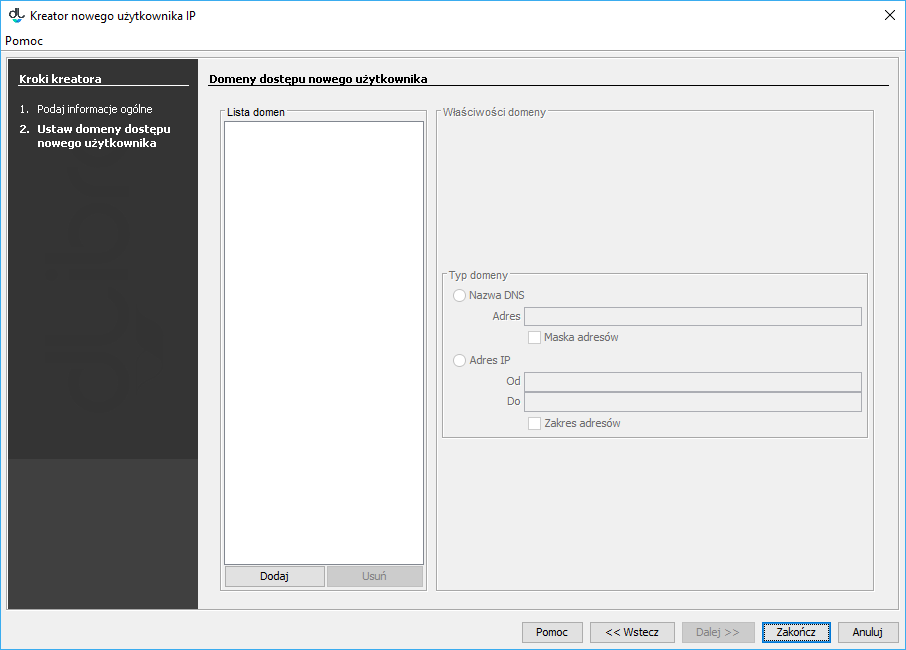
In the last step (see the image below), enter the domains or computer addresses related to the IP user. For a detailed description of domain management, see here. W ostatnim kroku (rysunek poniżej) należy podać adresy komputerów lub domeny związane z użytkownikiem IP. Zarządzanie domenami opisane jest szczegółowo tutaj.
Anchor newIPUserDomains newIPUserDomains labelimg Kreator nowego użytkownika - definiowanie domen dostępu Kreator nowego użytkownika - definiowanie domen dostępu
Aby usunąć użytkownika IP:
In order to remove an IP user:
- In the library tree, select the IP user to be removed.
- Select the “Remove”
 option from the context menu or from the main menu (the “Edition” menu
 - W drzewku biblioteki należy wybrać użytkownika IP, który ma zostać usunięty.
- Należy wybrać
Usuń z menu kontekstowego albo głównego (menu Edycja).