The mass object upload creator makes it possible to send many objects (including group objects) to the server at the same time. In order to start up the mass object upload creator, select the “Mass object upload” item from the “Tools” menu.
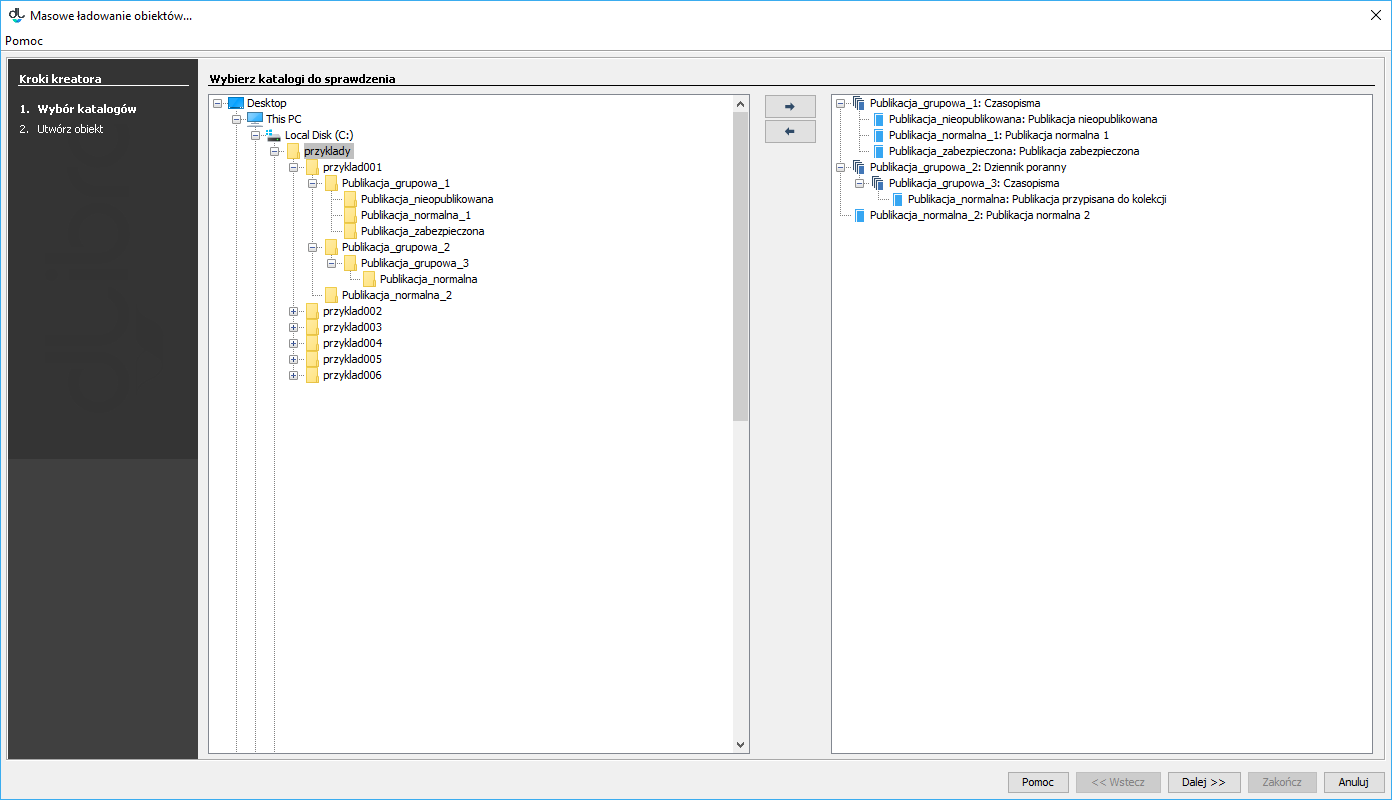
- In the first step of the creator, determine which objects are to be sent to the server. The window of the first step of the creator (see the image below) is divided into two parts: on the left, there is the system directory tree, and on the right, there is the structure of the objects to be sent to the server. In order to add objects to the tree of the objects to be sent to the server:
- In the system directory tree, select the directory which contains the subdirectories which describe objects (the structure of the directory which describes objects is discussed in the next subchapter).
Click the button. The application will then check the correctness of the structure of the directories which describe objects. Should any errors occur, appropriate error messages will be displayed. You can go to the next step after at least one object has been added.
The mass object upload creator – selecting objects for sending
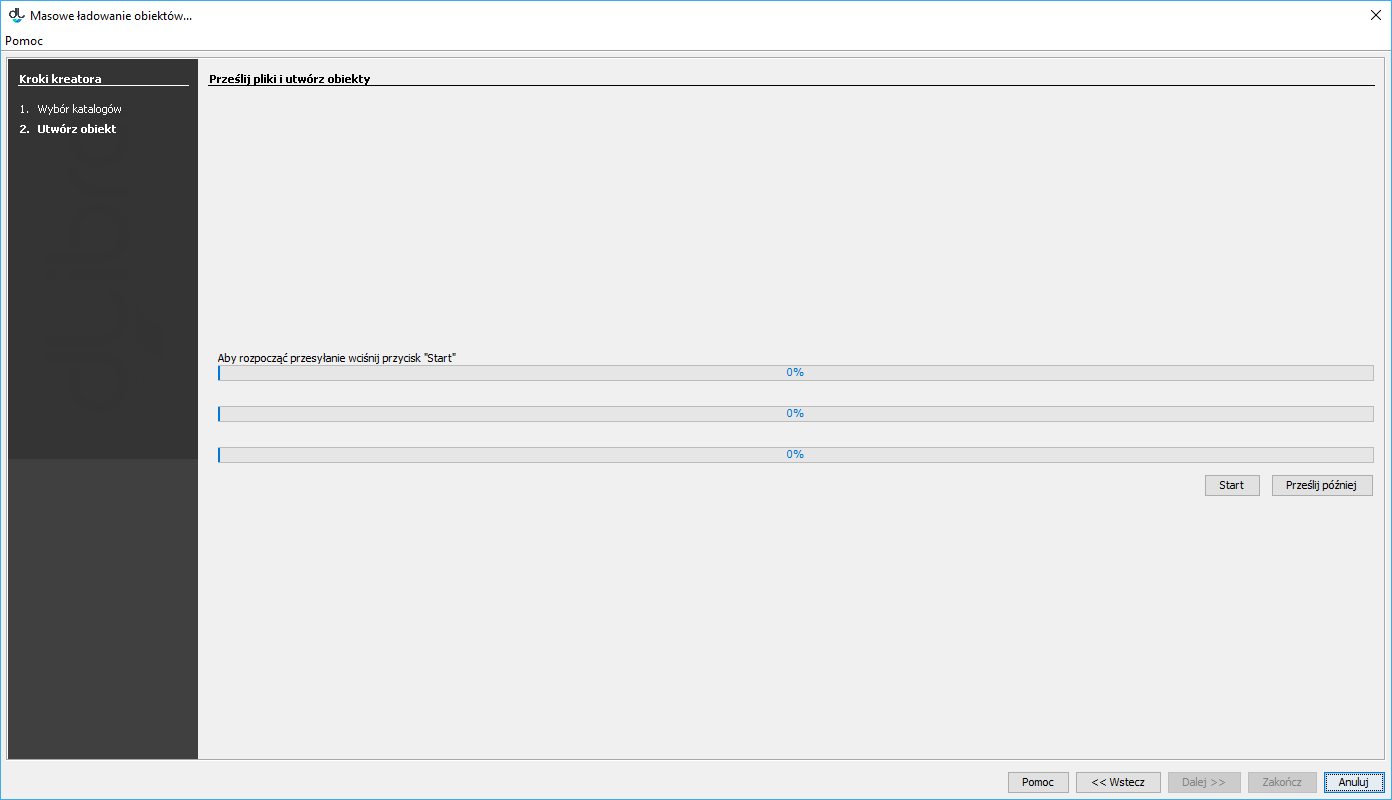
In the second step of the creator (see the image below), objects are sent to the server. In order to send objects to the server, the user should click the “Start” button. During the upload, information about its progress are displayed. After the objects have been uploaded, a summary is shown. If, for any reason, it has not been possible to send one or more objects, the error messages can be checked on the summary page, by clicking the “Error details” button.
Also, the editor can postpone the process of object creation by clicking the “Send later” button. That option operates in the same way as in the new object creator.
The Mass multi-format object upload creator – sending objects


