In order to create a new group object:
- From the element list, select the directory or group object in which the new group object is to be placed.
- From the context menu, select the “New group object” function. Alternatively, option
 can be selected from the toolbar, or the “New group object...” position can be selected from the “Management” menu.
 In the first step (see the image below), the user should enter the metadata of the new group object. For details about it, see the Bibliographic Description Editor chapter. The entered metadata will be inherited by all objects created within the framework of that group object. In order to be able to go to the next step, the user must enter the name of the new object (in the “Name” field). By default, the name is created on the basis of the bibliographic description, by combining the name of the author and the date of edition (for information about changing the method of creating a default name, see the Configuring the Editor Application section. For example, if the title is “Fables”, the author is “John Smith”, and the date of edition is “2004”, then the name will be “John Smith, 2004, Fables” – with the author first, followed by the date of edition and the title. Whenever a user changes the bibliographic description, the name is updated. Off course, a user can also enter a different name or modify the default name. In such a case, the automatic update will be blocked. In order to proceed to the next step of the creator, the user should click the “Next” button.
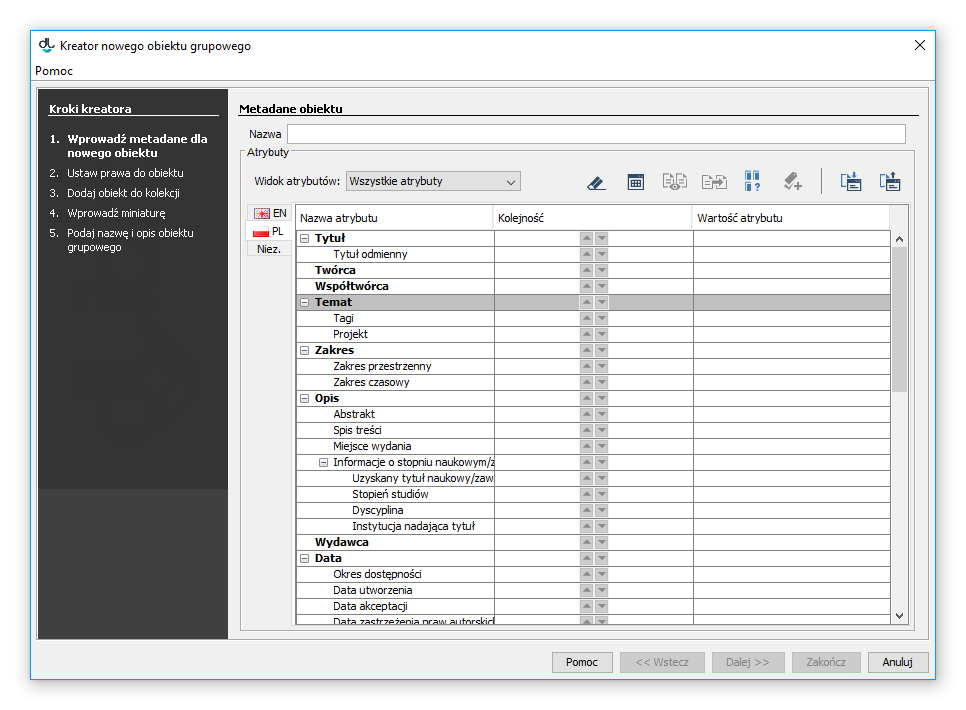 Kreator nowego obiektu grupowego - metadane
W kroku drugim (rysunek poniżej) przypisz użytkownikom prawa do obiektu. Szczegóły znajdują się w rozdziale edytor praw. Wprowadzone prawa są dziedziczone przez wszystkie obiekty tworzone w ramach tego obiektu grupowego. Aby przejść do kolejnego kroku kreatora należy nacisnąć przycisk Dalej.
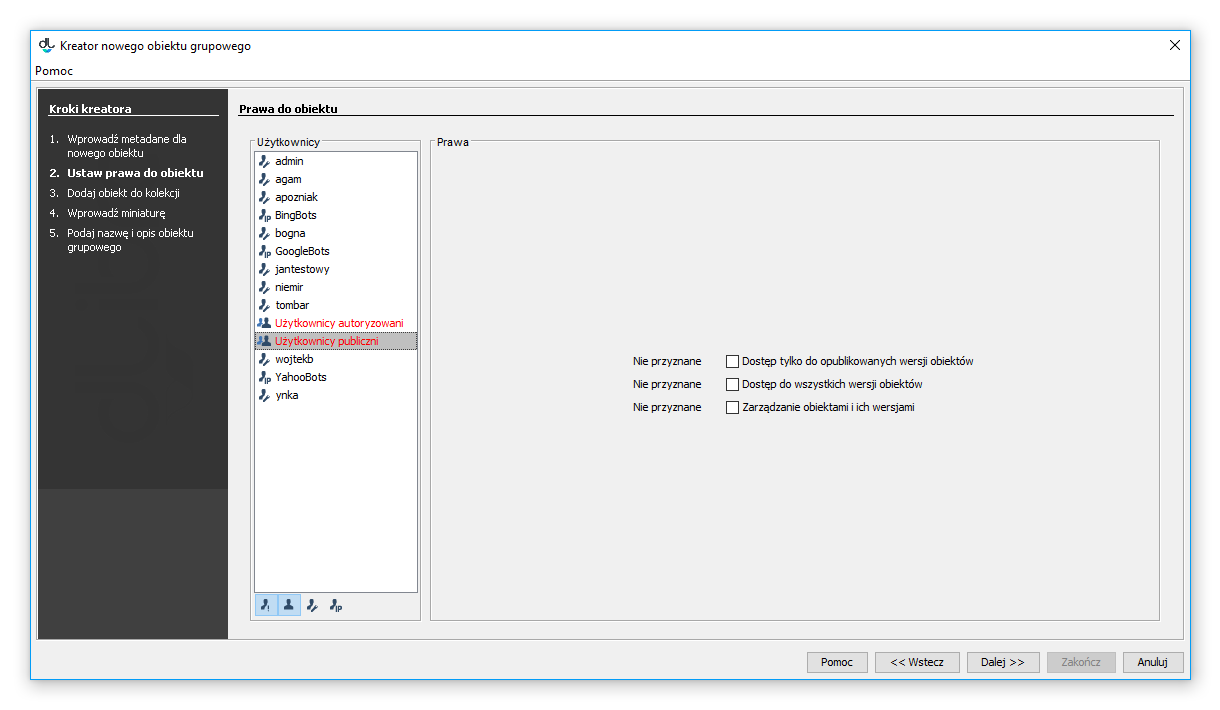 Kreator nowego obiektu grupowego - prawa
W tym kroku (rysunek poniżej) przypisz obiekt do kolekcji. Szczegóły znajdują się w rozdziale Edytor przynależności obiektu do kolekcji. Przypisanie do kolekcji jest dziedziczone przez wszystkie obiekty tworzone w ramach tego obiektu grupowego. Aby przejść do kolejnego kroku kreatora należy nacisnąć przycisk Dalej.
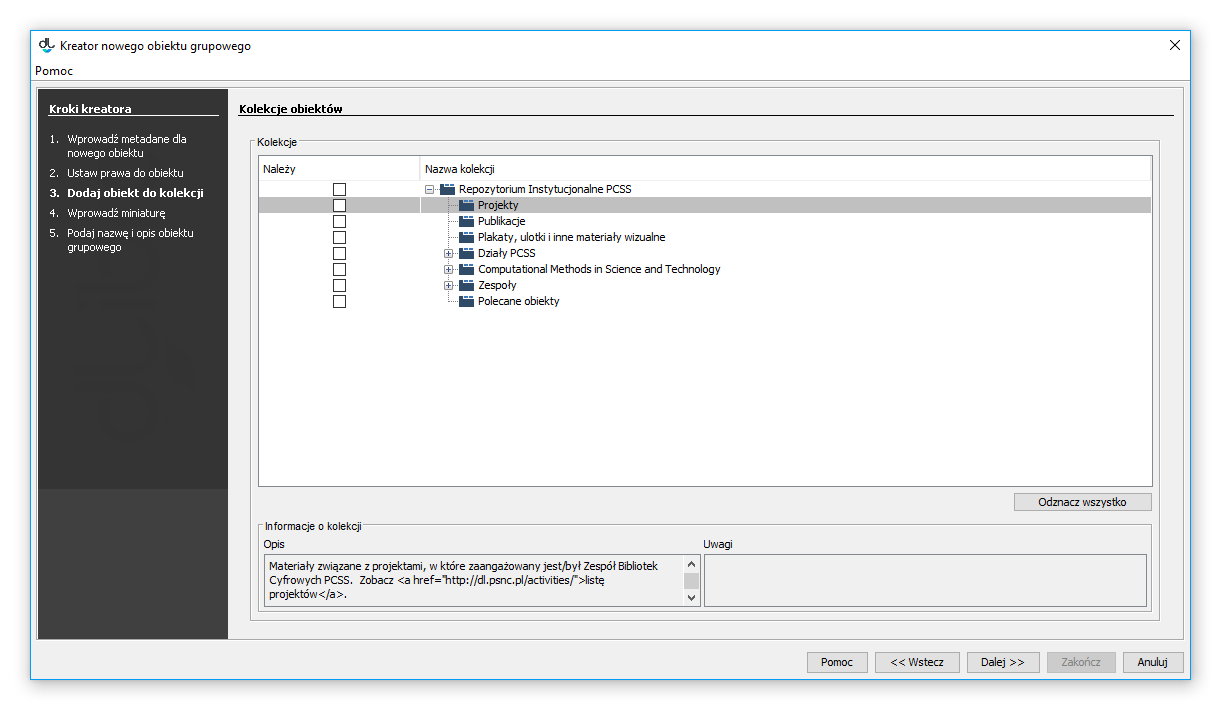 Kreator nowego obiektu grupowego - kolekcje
W tym kroku (rysunek poniżej) wprowadź miniaturę, która będzie dostępna na stronie informacyjnej o obiekcie. Aby wprowadzić miniaturę, kliknij przycisk Wybierz i wskaż plik graficzny, lub kliknij przycisk Wklej by wkleić obrazek ze schowka systemowego. Jeśli aplikacja jest odpowiednio skonfigurowana, wybranie zbyt dużej miniatury spowoduje jej automatyczne zmniejszenie do wymaganych rozmiarów (szczegóły konfiguracji znajdują się tutaj). Kliknij Dalej aby przejść do następnego kroku.
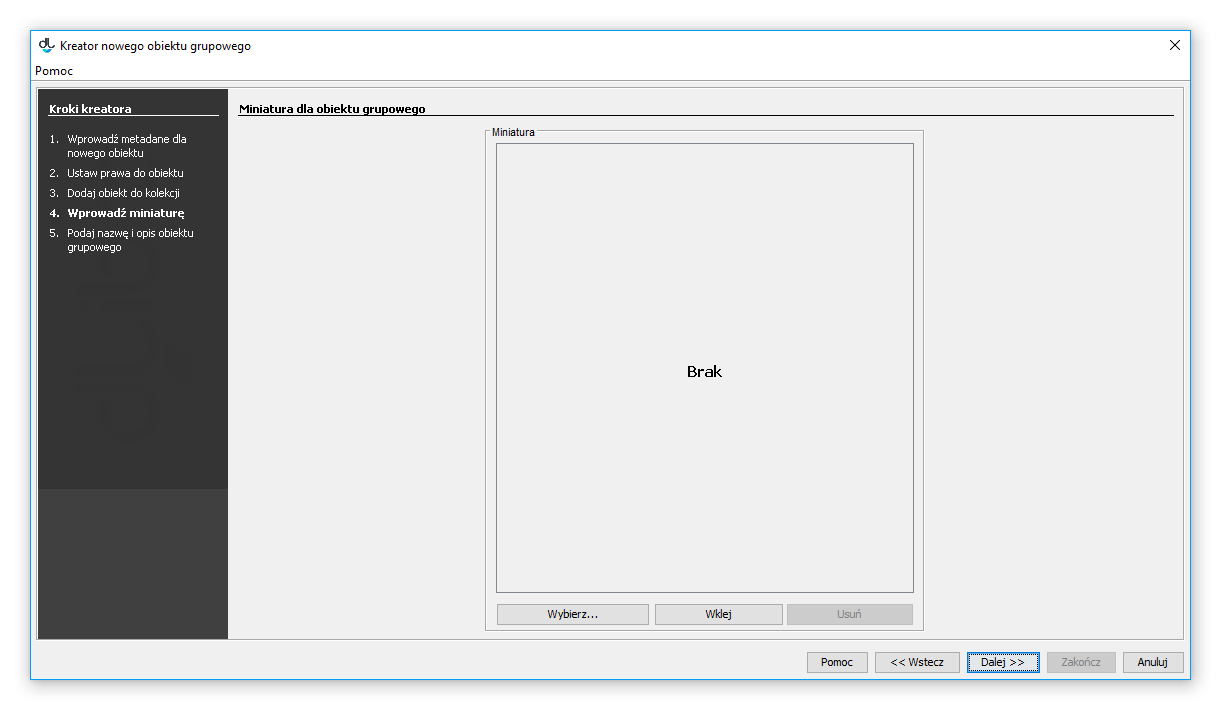 Kreator nowego obiektu grupowego - informacje WWW
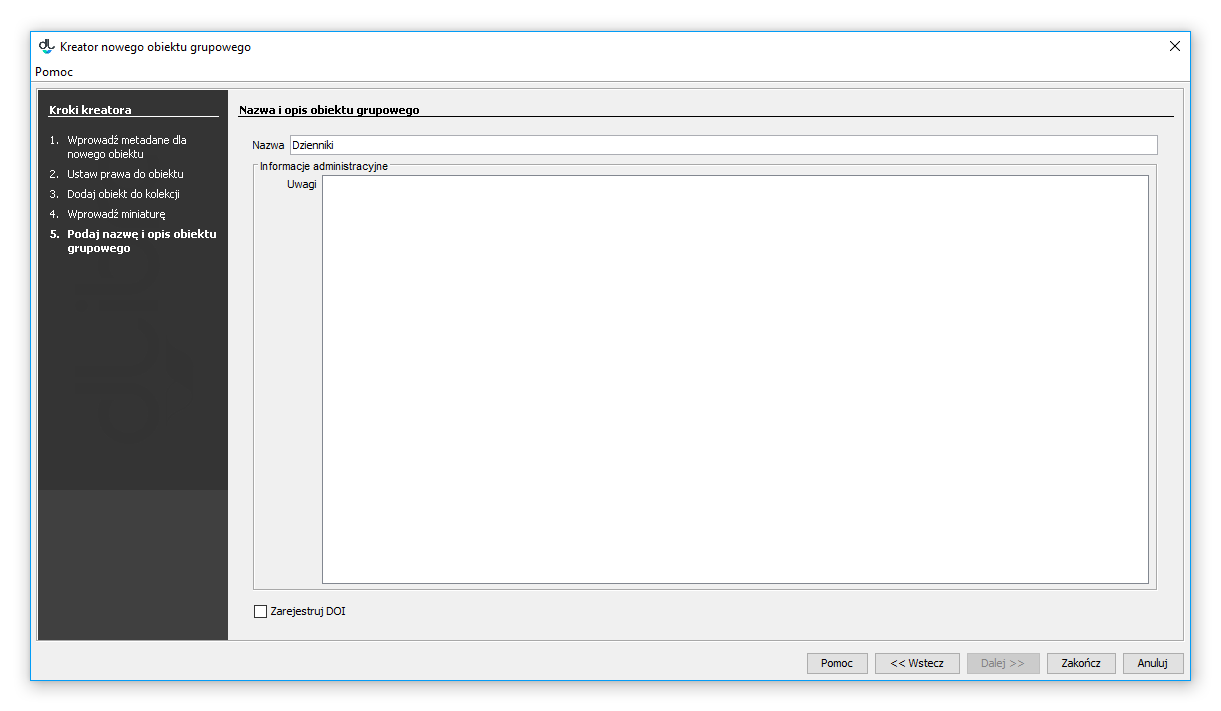
W ostatnim kroku (rysunek poniżej) sprawdź nazwę oraz wprowadź ewentualne uwagi administracyjne. Uwagi te nie są widoczne dla czytelników. Od wersji 6.1 system dLibra możliwa jest również rejestracja w systemie DOI (więcej informacji znajduje się w dodatkach: [EN] Configuring DOI oraz Rejestracja DOI w systemie DataCite). Wybierz Zakończ aby utworzyć nowy obiekt grupowy.
 Kreator obiektu grupowego - informacje ogólne