...
| Anchor | ||||
|---|---|---|---|---|
|
Attribute value editor
Attribute value editor
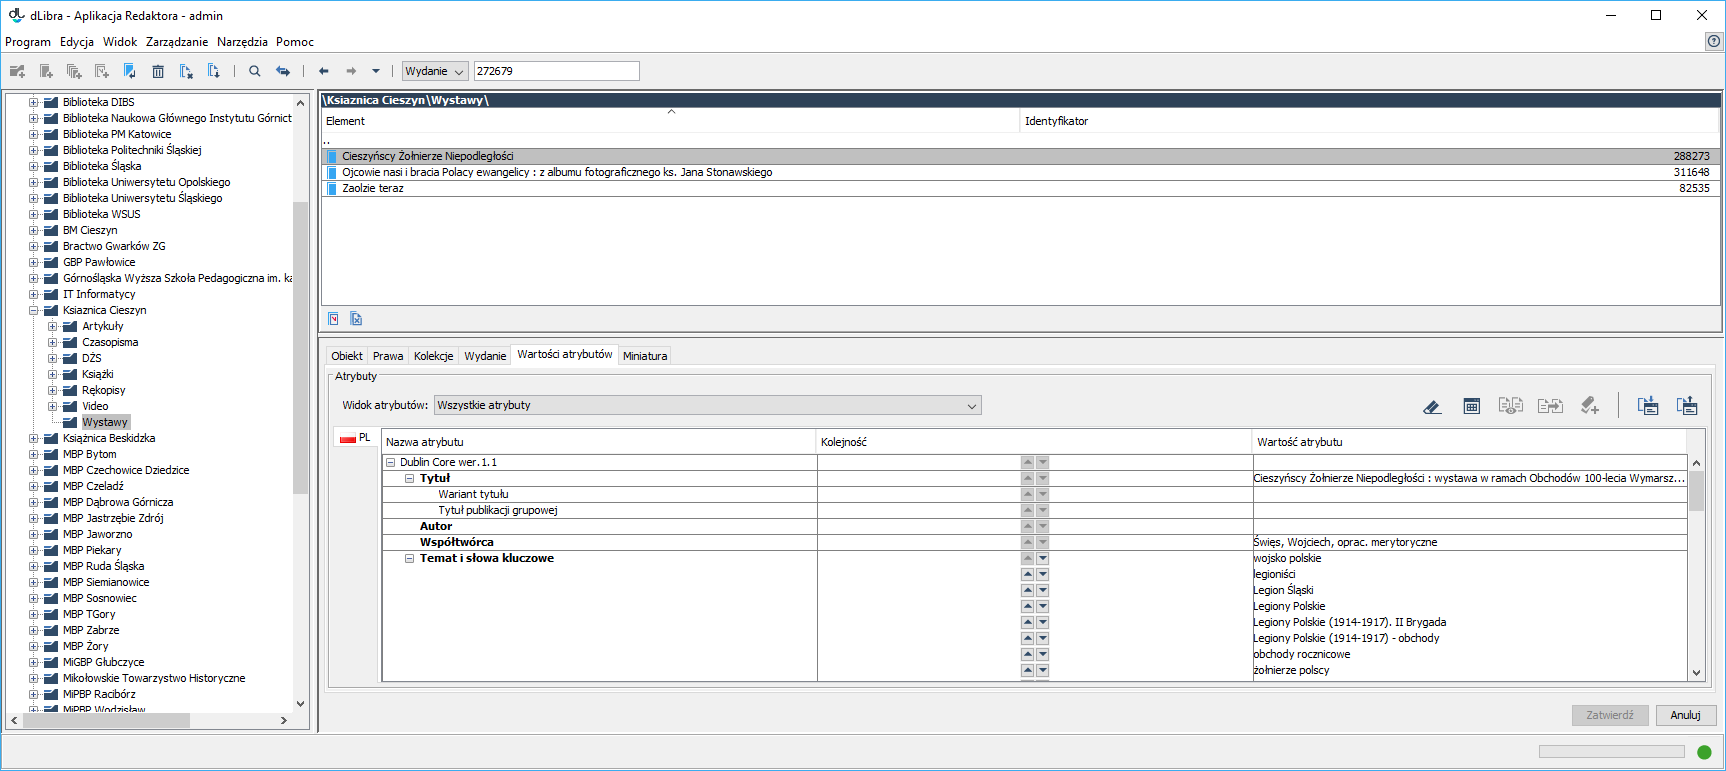
The attribute value editor is located in the “Attribute value” tab. It allows the user to enter metadata. The editor has the form of a table with three columns. In the left column, there is an attribute tree. When the cursor is held over a selected attribute, there appears a tooltip with a description of the attribute (if it is available). In the right column, the values assigned to the attribute are displayed. Every attribute can have many values. Every value is displayed in a separate row, beginning with the row in which there is the attribute name. If an attribute does not have any values, the field on the right side of the attribute is empty. The middle column contains control elements for changing the value order. They are only active for attributes with more than one value. A value can be moved one position higher by clicking the button with an arrow pointing upward in the value row. Similarly, clicking the button with an arrow pointing downward will move the selected value one position lower.
...
In such a situation, the attribute view mechanism comes in handy. The editor working with objects of a particular type can select an appropriate view so that only the attributes assigned to that view are visible in the editor, and other attributes are hidden (see the image below). It can also be determined which attributes are to be required for a view (that is, the values of which attributes will have to be filled in by an editor). An attribute view can be selected from the expandable menu located just above the attribute editor. For detailed information about attribute views and their configuration, see here.
| Anchor | ||||
|---|---|---|---|---|
|
...
- the MARC 21 exchange format (for configuration details, see the Configuring the Editor Application chapter and the MARC Import appendix;
- the XML format (the default configuration makes it possible to import from the RDF and MASTER formats; for configuration details, see the Configuring the Editor Application chapter and the XML Import appendix);
- the Bibtex format (for configuration details, see the Configuring the Editor Application chapter and the Bibtex Import appendix);
- the CSV format (for configuration details, see the Configuring the Editor Application chapter and the CSV Import appendix); and
- the .properties format (for configuration details, see the Configuring the Editor Application chapter and the .properties Import appendix).
In order to import metadata from an external source, the user should press the “Import...” button in the “Import/Export” panel. The metadata import window will appear (see the image below).
...
• extension Z39.50 – it makes it possible to retrieve metadata from Z39.50 servers (for details, see the appendix which describes extension Z39.50).
To import a metadata file, the user must indicate it and click the “Import” button. If the user chooses the “Detect automatically” option on the “Format” list, the application will try to automatically detect the format of the source file and import the metadata from it. Alternatively, the user may indicate the format of the source file.
...
- the RDF format (for configuration details, see the Configuring the Editor Applicationand the description of export to the RDF format);
- the CSV format (for configuration details, see the Configuring the Editor Applicationand the description of export to the CSV format); and
- the .properties format (for configuration details, see the Configuring the Editor Applicationand the description of export to the .properties format).
...